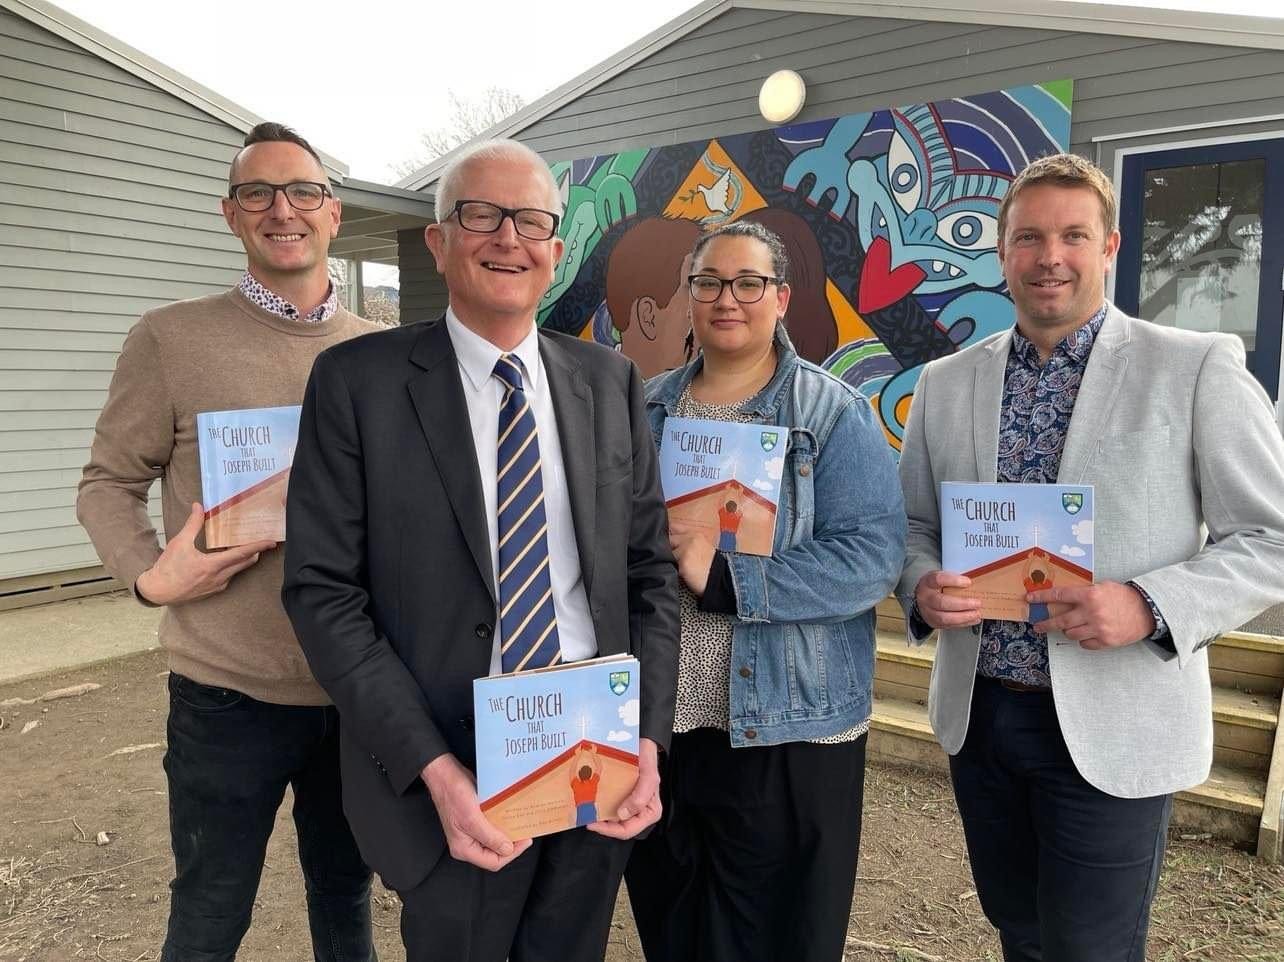
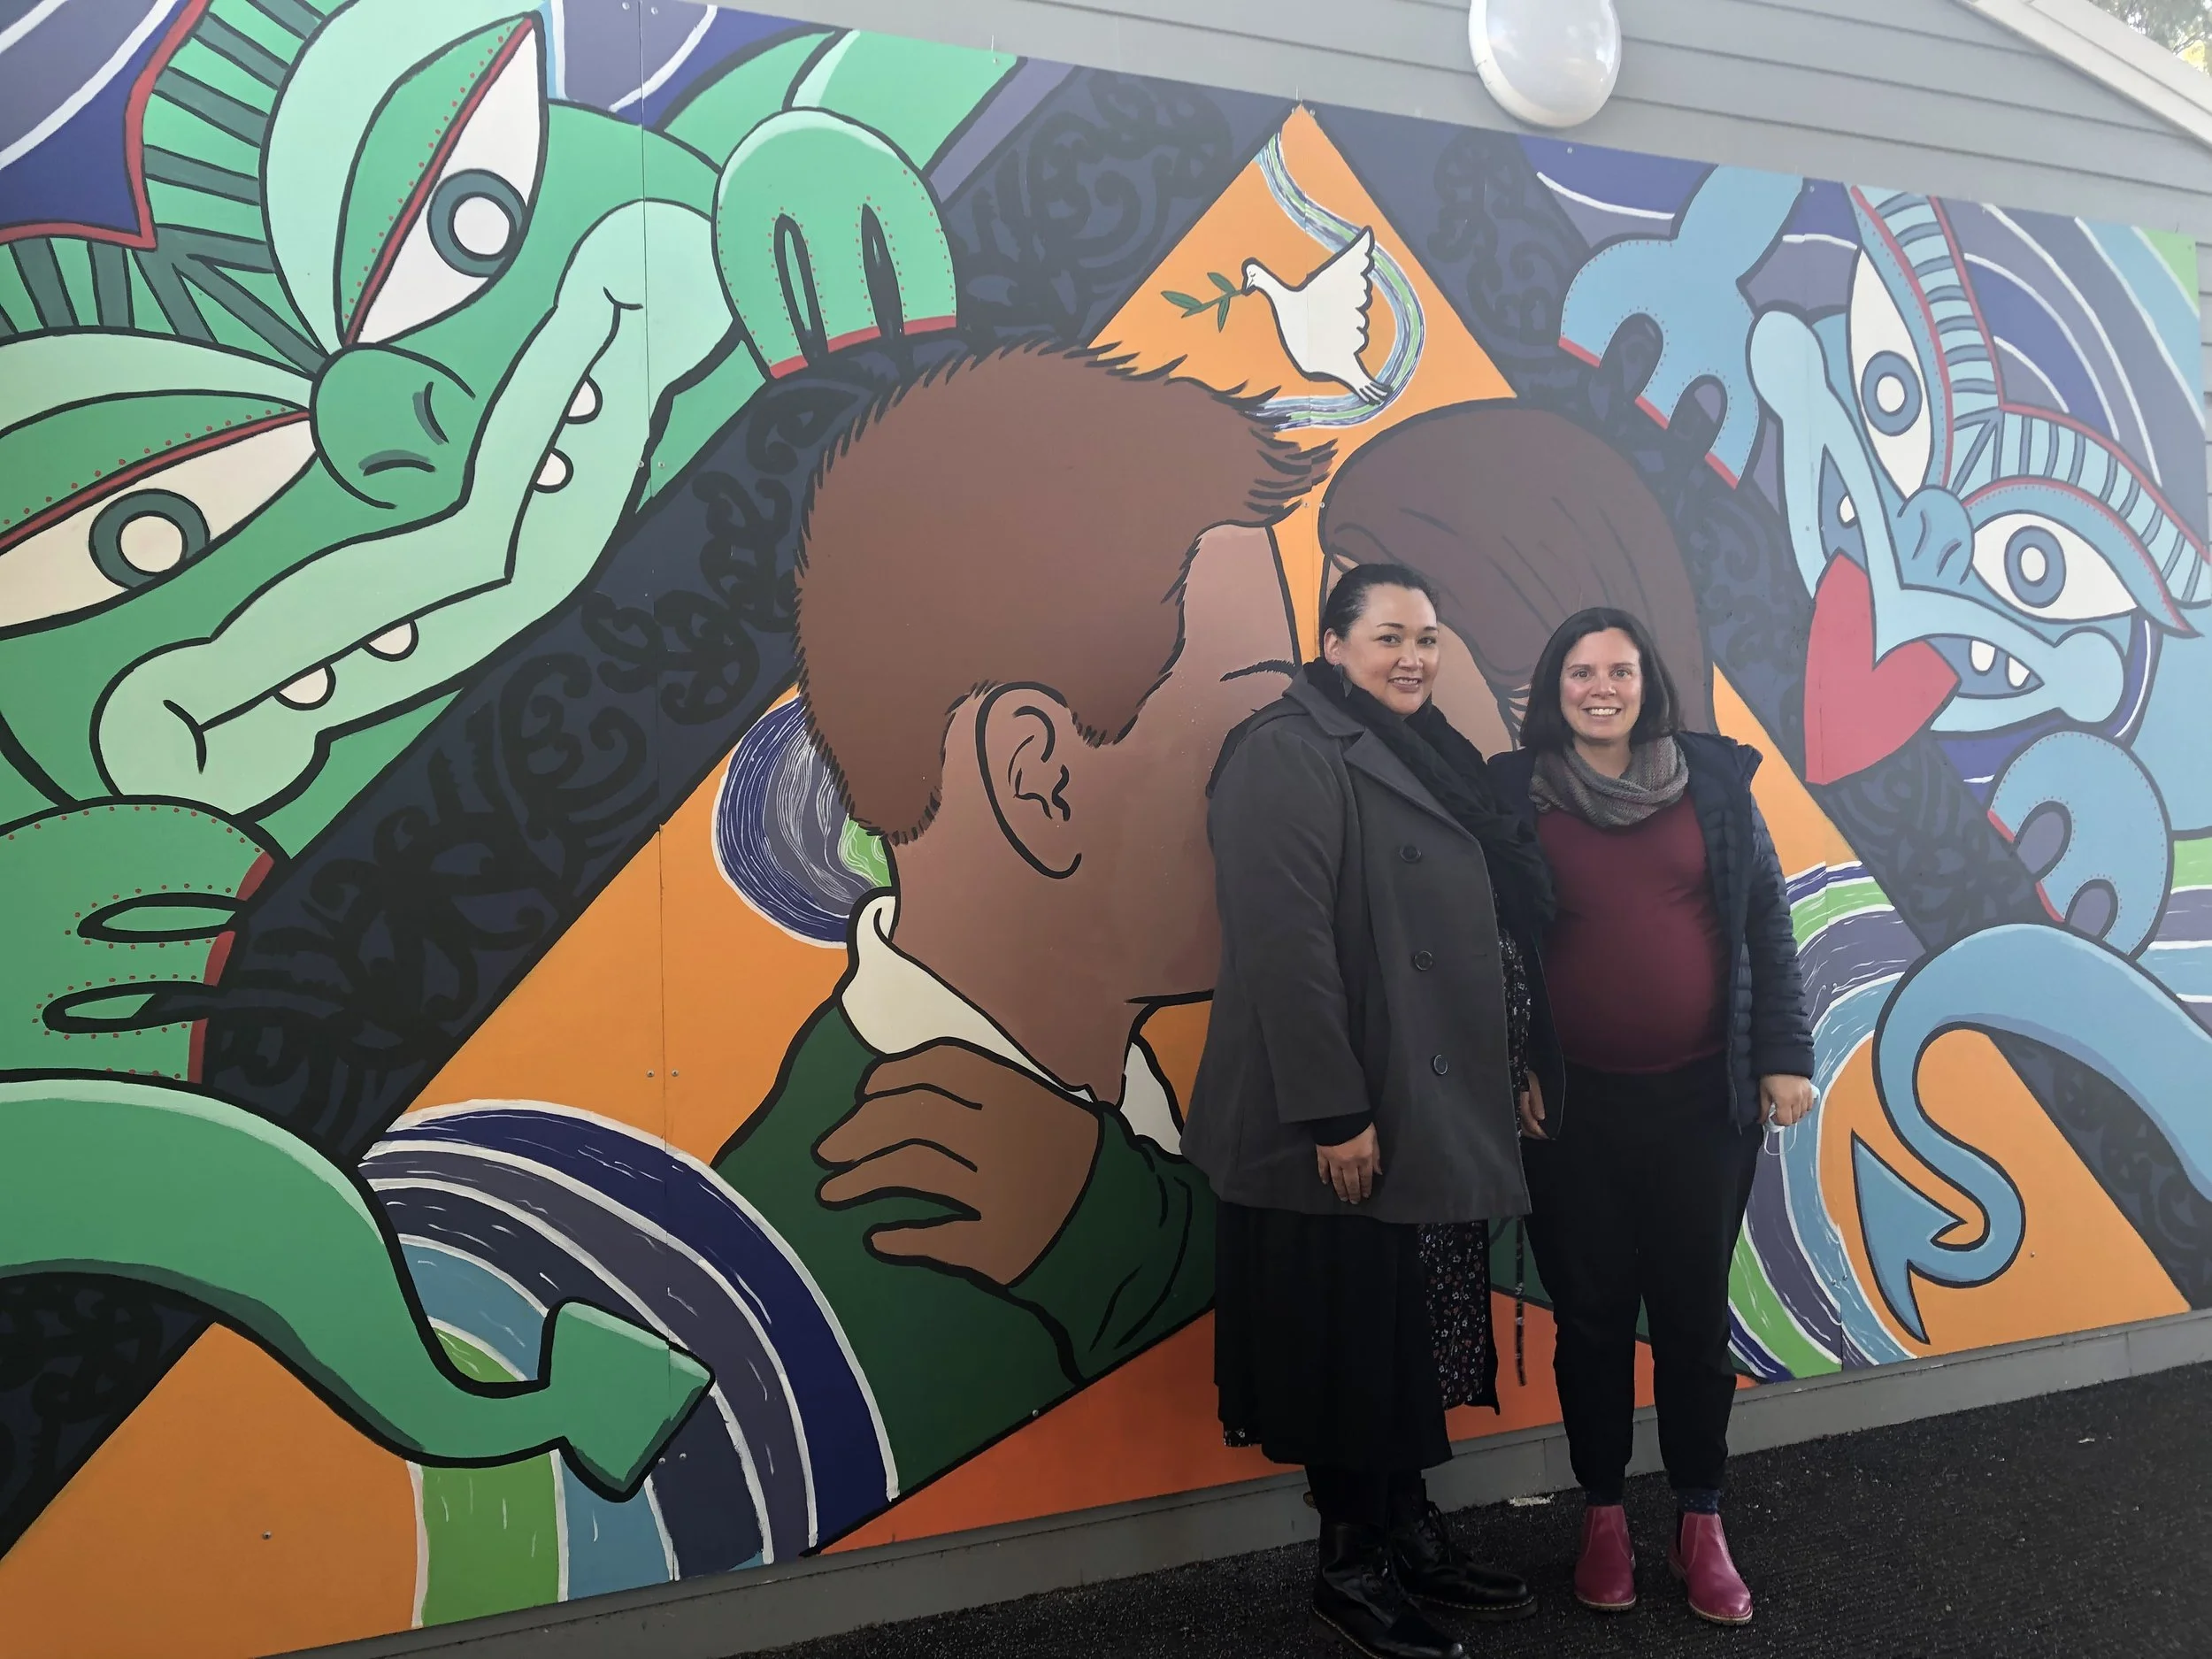
Chris Steffensen, Wayne Guppy, Selina Ede, Andrew Herrick
I was approached by Andrew Herrick the principal of St Jospeh’s Primary School to collaborate with them on creating a picture book to give to new students starting at the school. The books aim was to help them feel welcome and learn about the schools values and culture with their families. I was thrilled to be part of this project!
As you can imagine creating a book entails a lot of different skills sets; story creation, editing, illustration, layout, printing just to name a few. The beautiful thing about a printed story book is it can be read and enjoyed over and over again. A lot of school information on paper flyers doesn’t last very long however a book is treasured.
Process
Our first challenge was to create a story that communicated all the values and history of the school. Andrew already had a great initial plot idea of ‘The Church that Joseph Built’ which was based around the story ‘The House that Jack Built.’ With this as our starting point a full story was fleshed out. We split the story into spreads and continued to simplify and reduce the word count. Once we had a concrete story it was sent around the staff to proof read, critique and give feedback.
Then it was my time to shine with the illustration creation. But first we contacted our printer (About Print) and picked the size and stock of the books so as not to get any surprises later on or create artwork to the wrong aspect ratio.
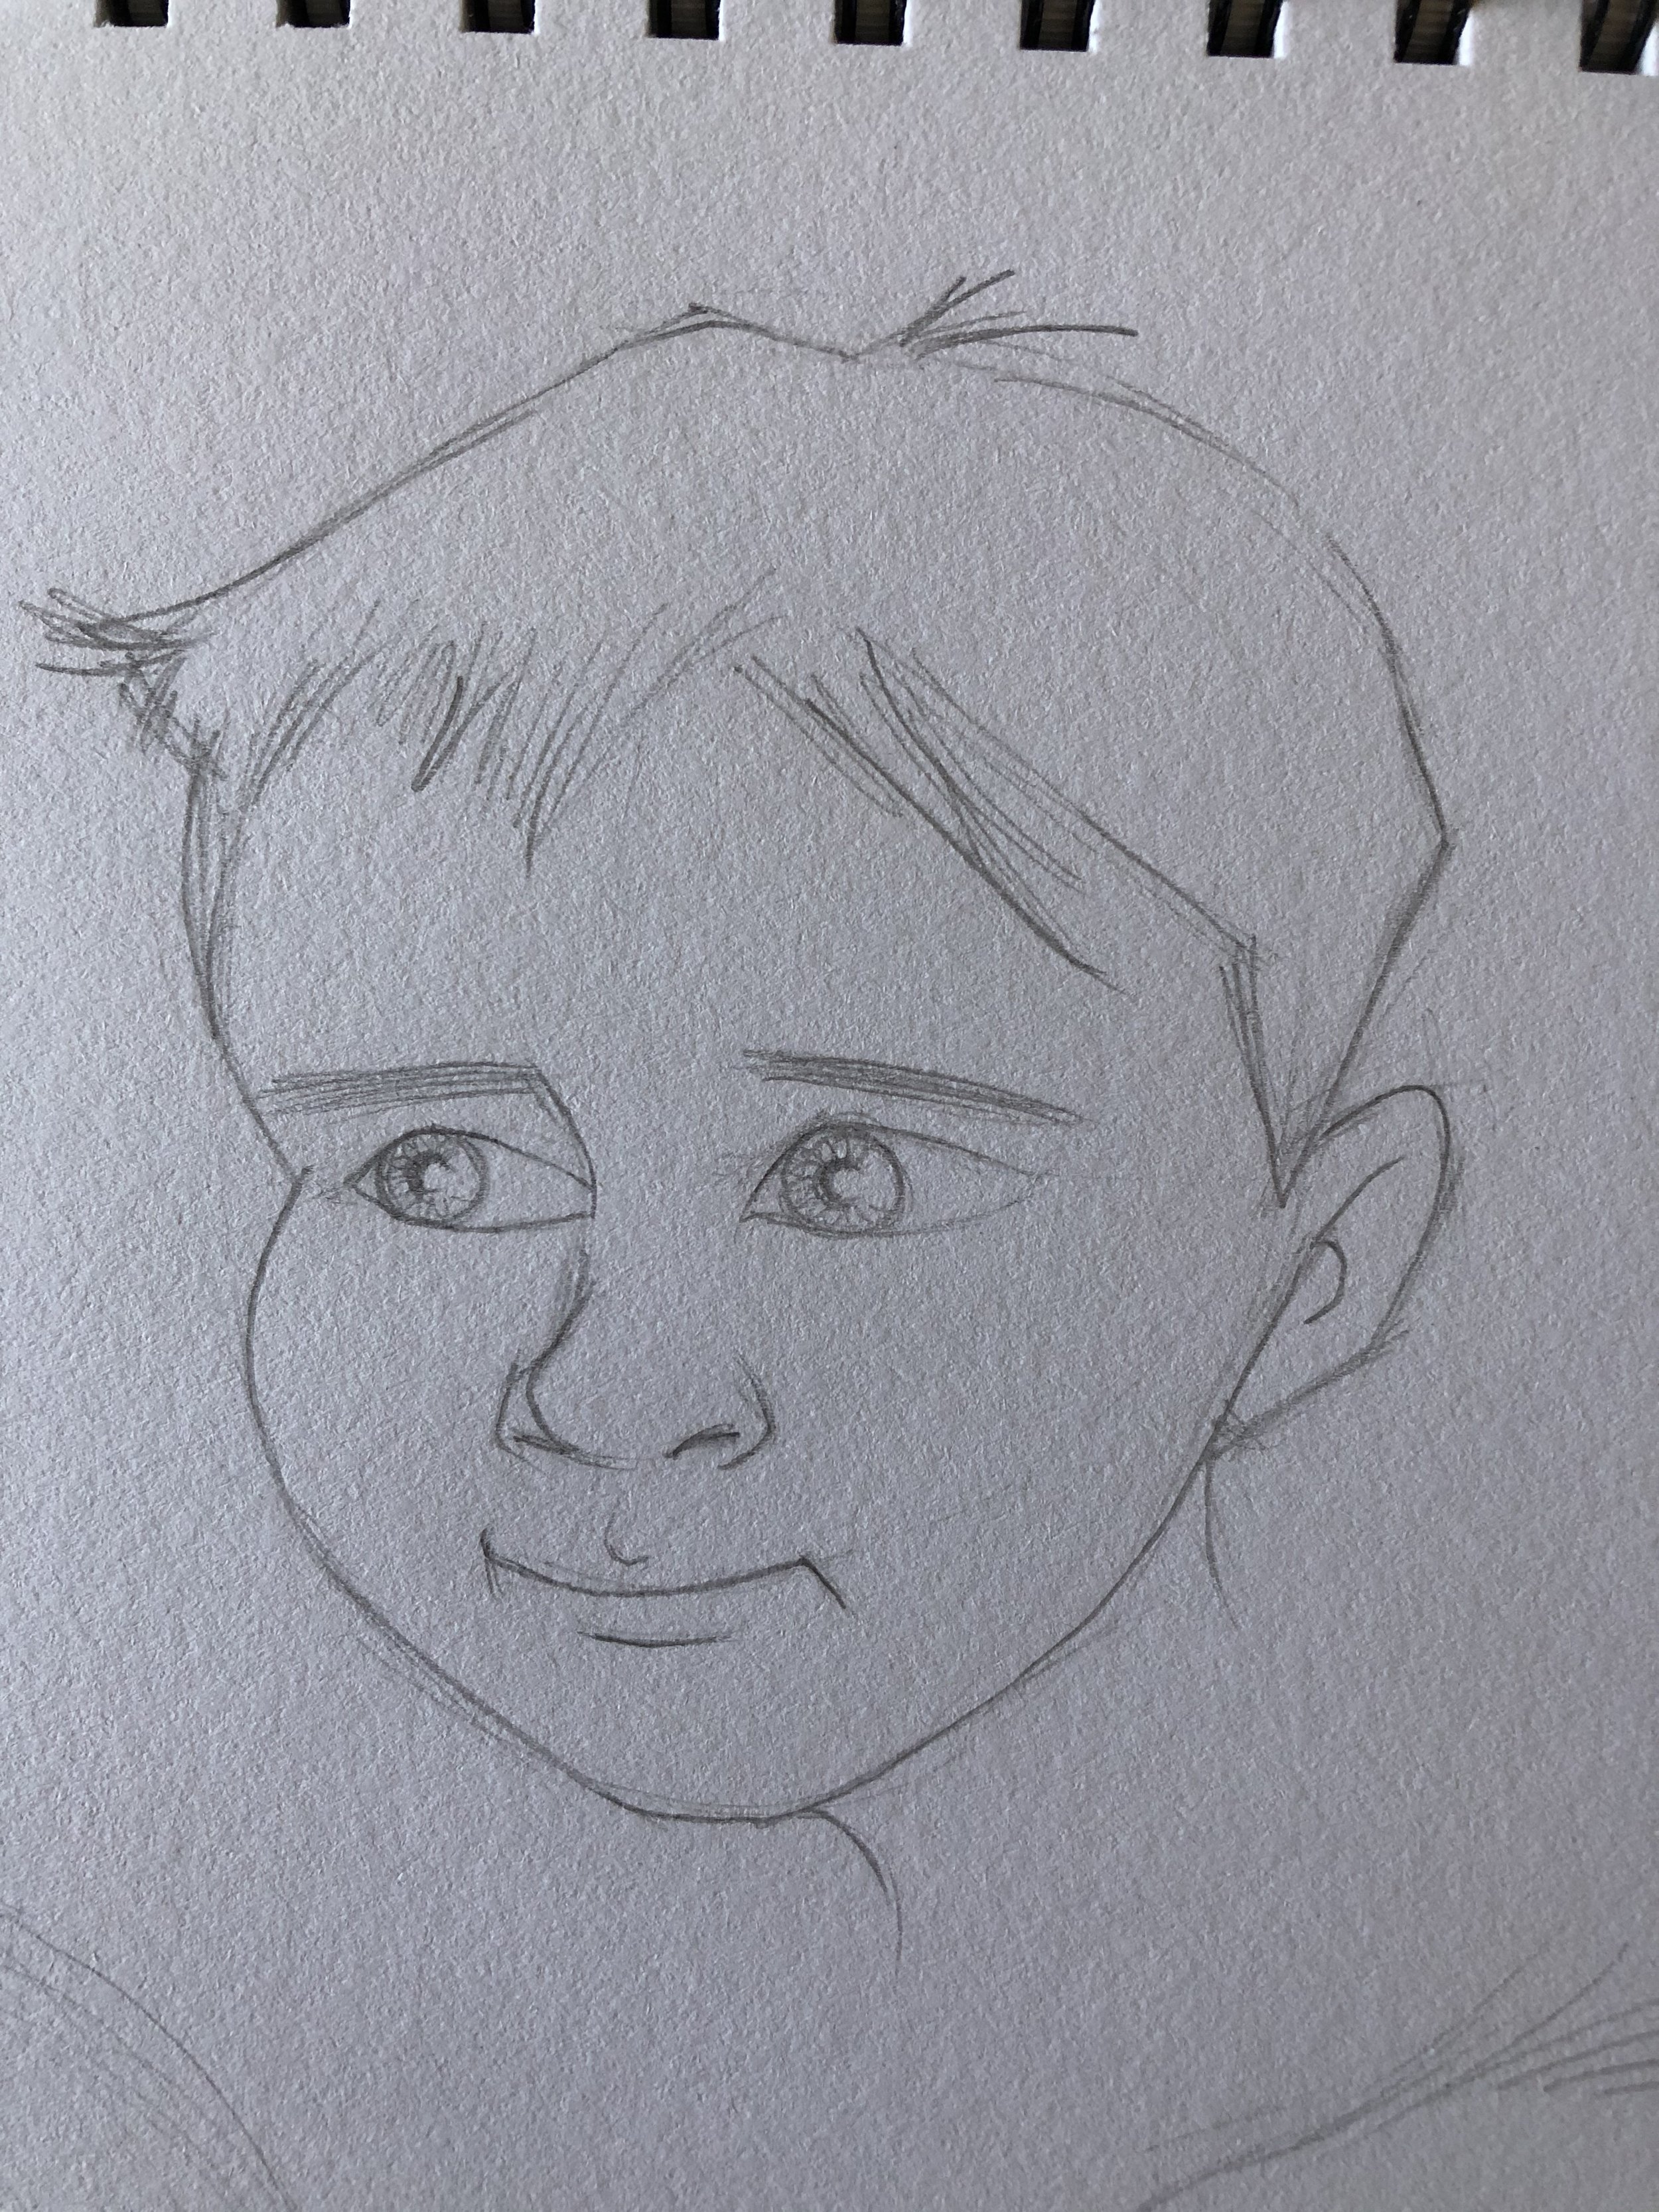
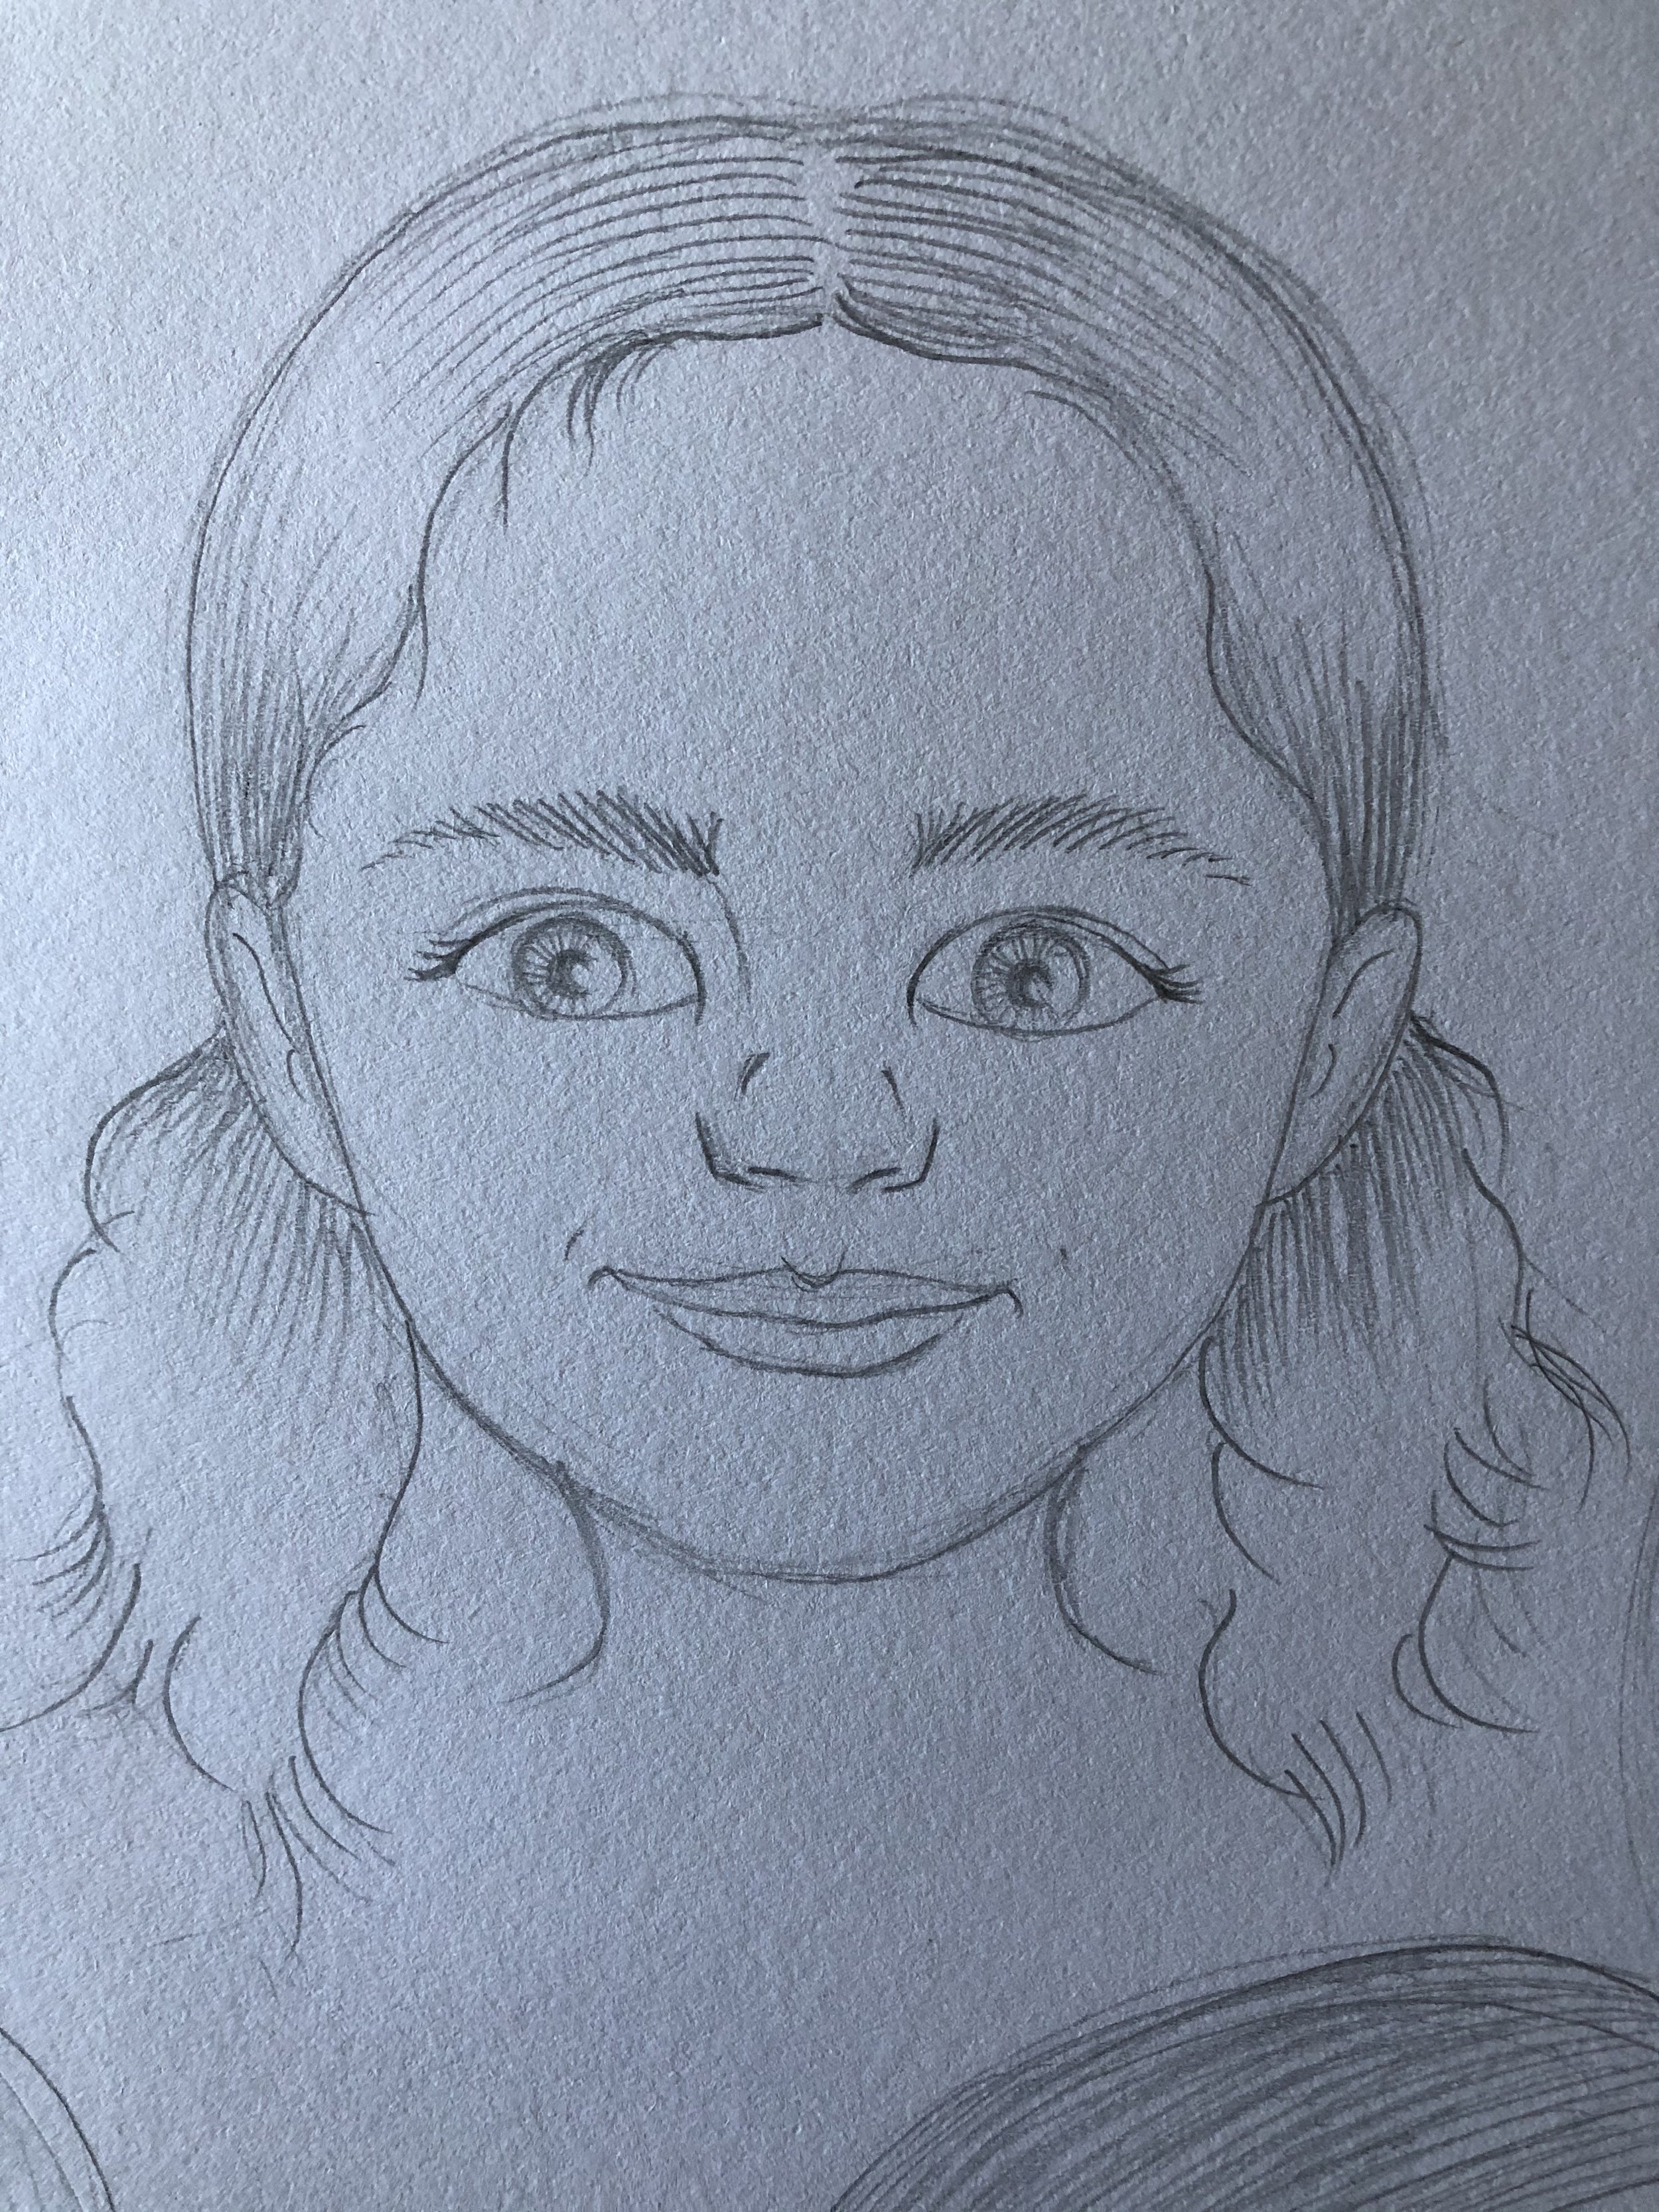
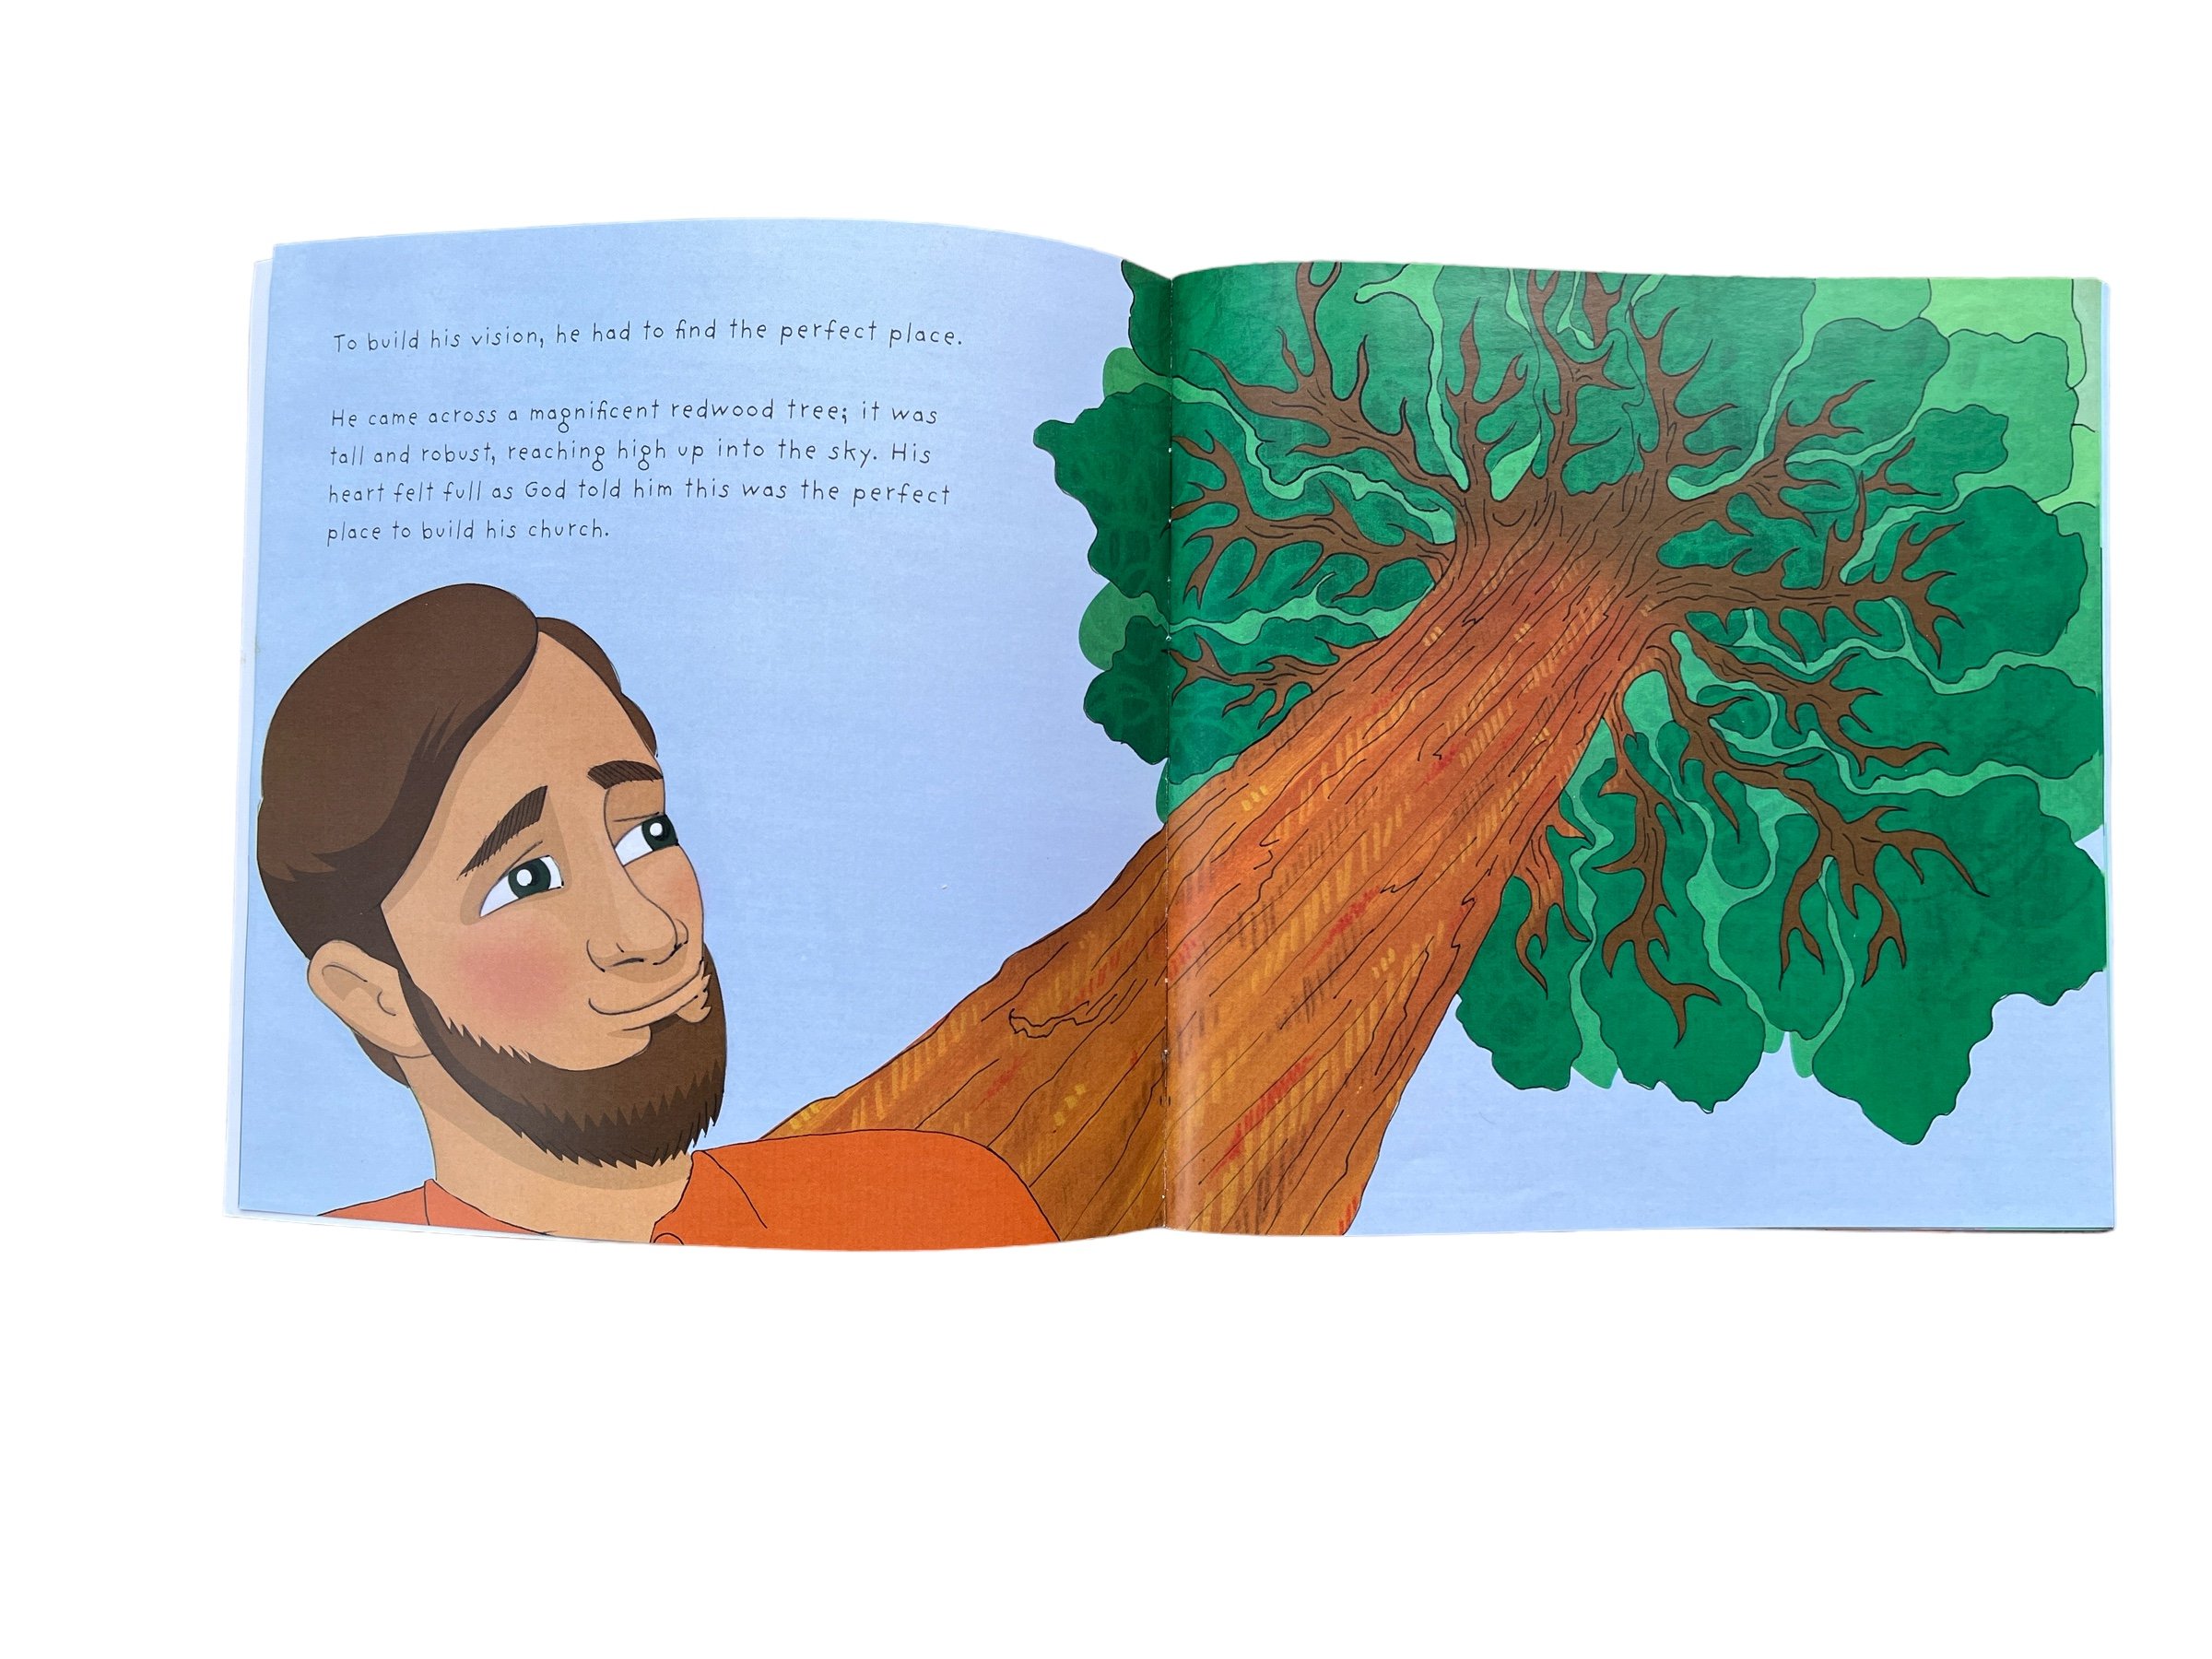
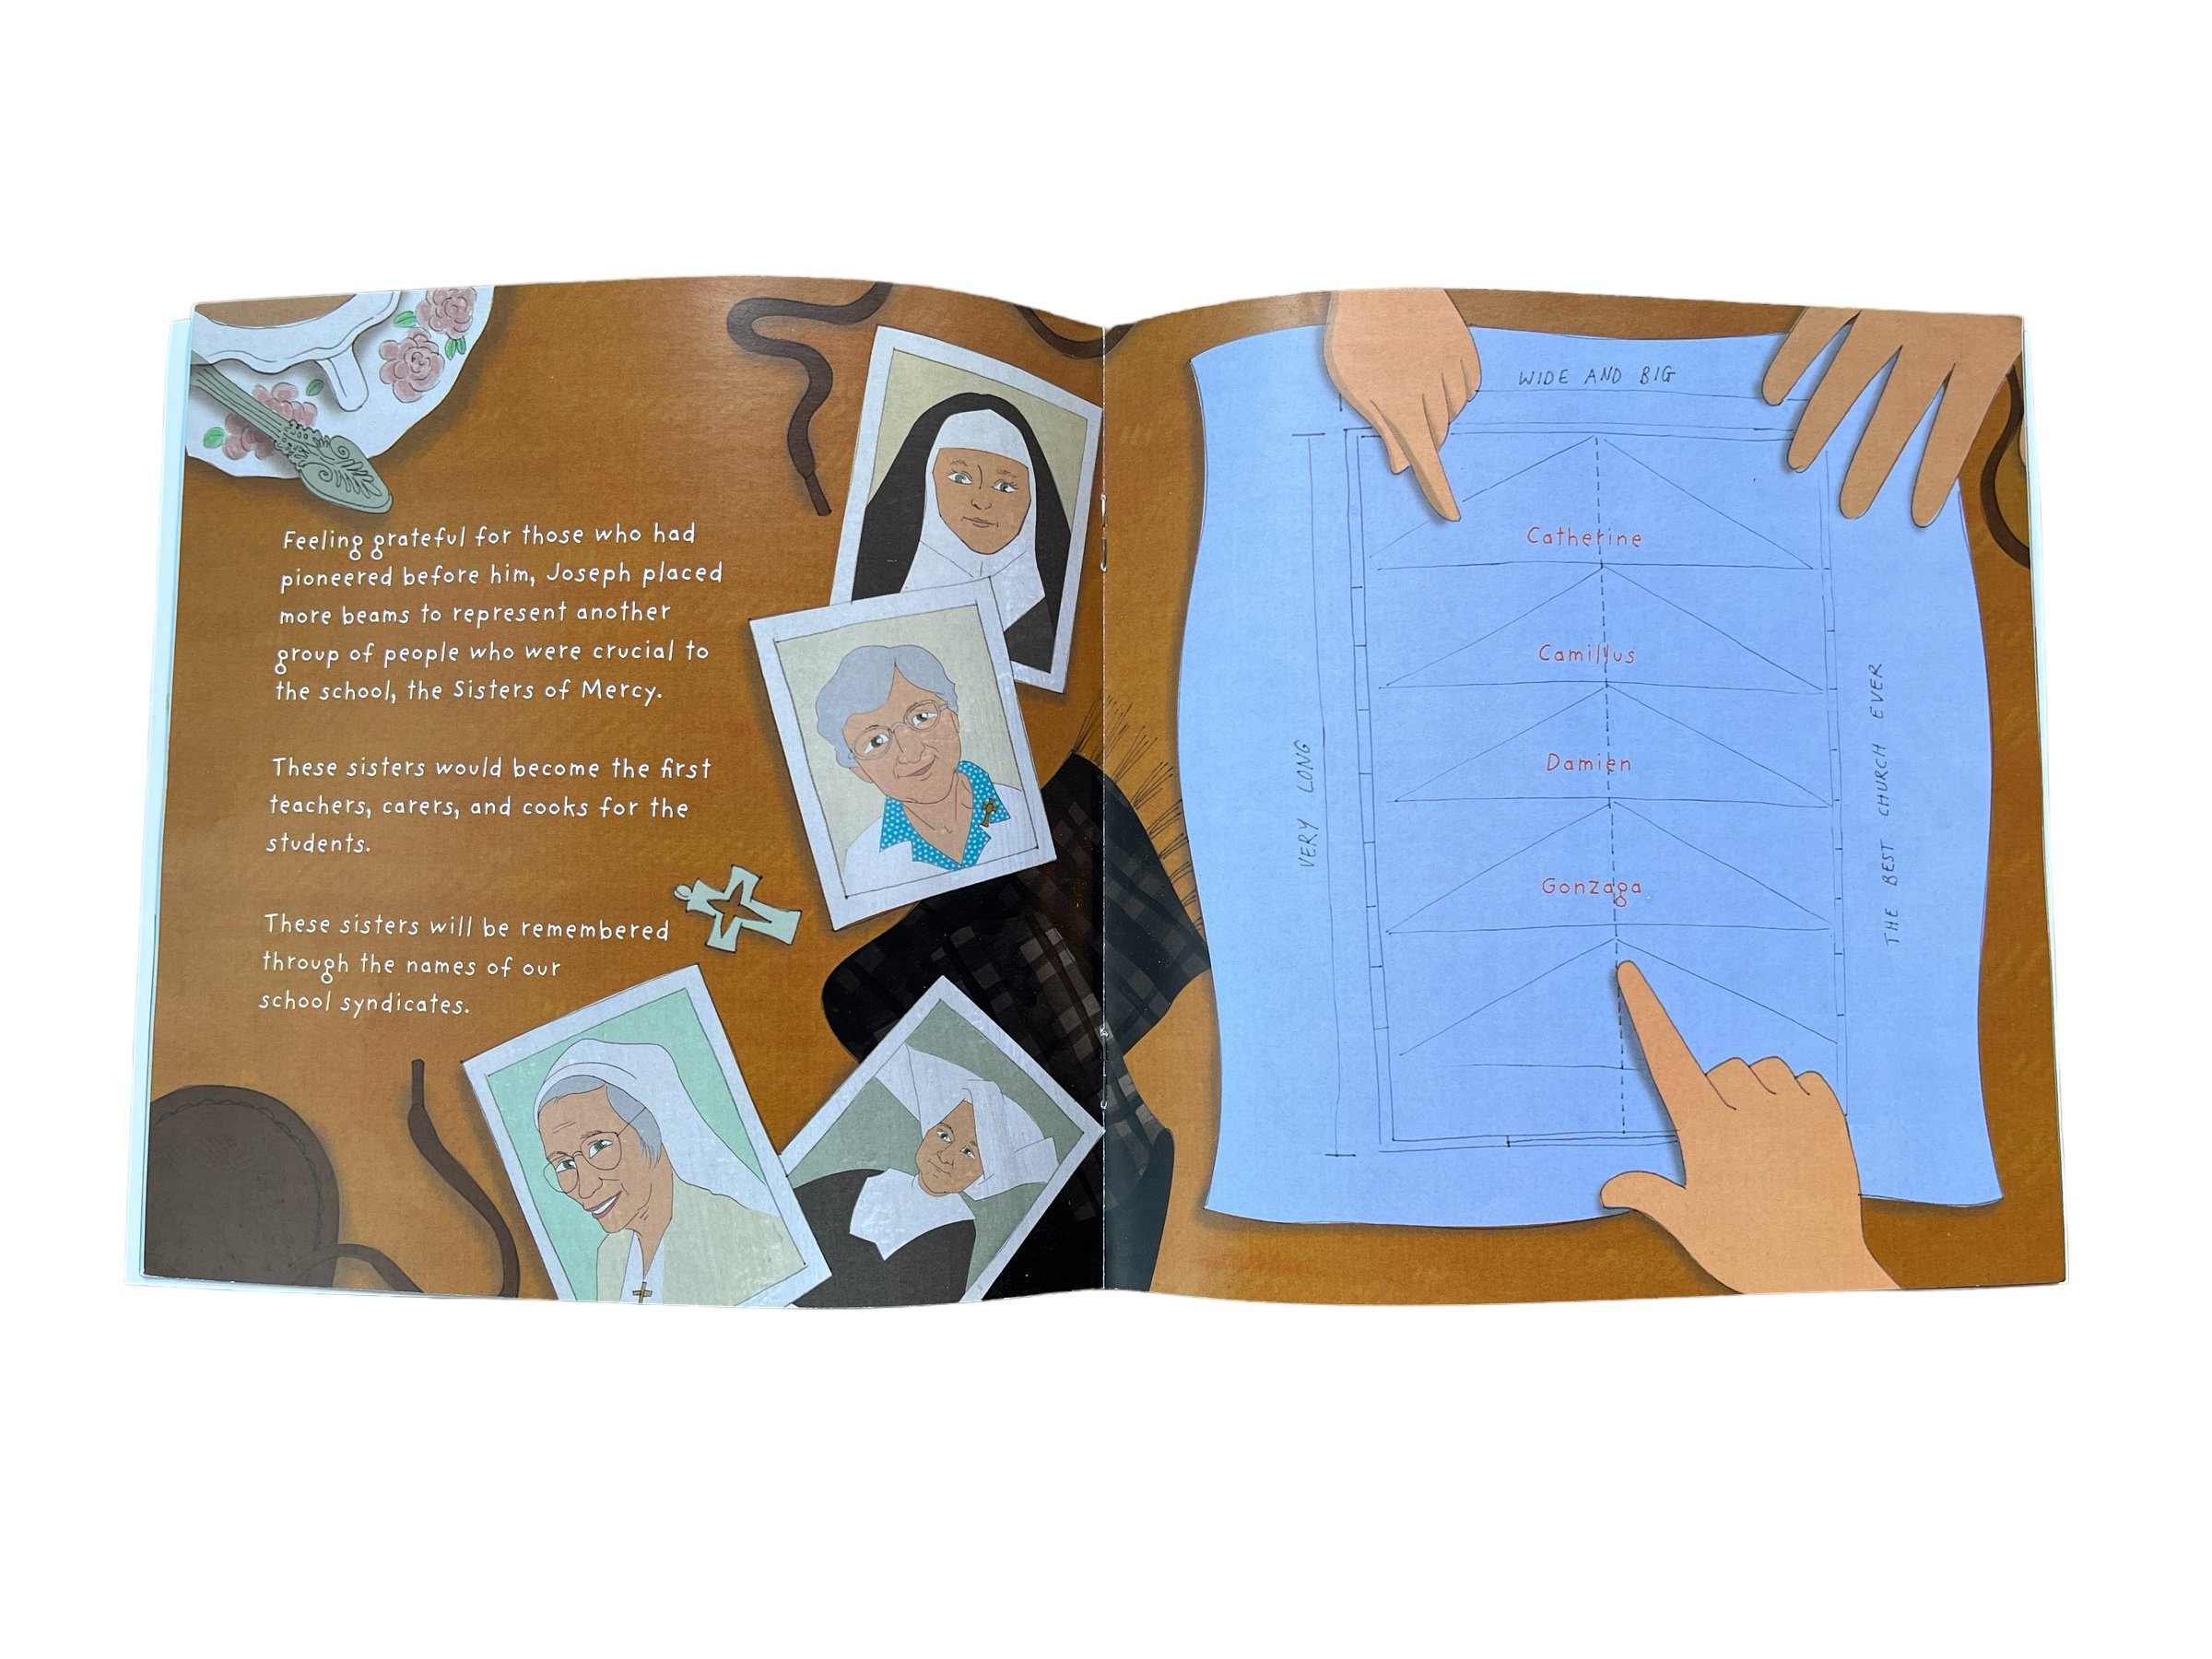
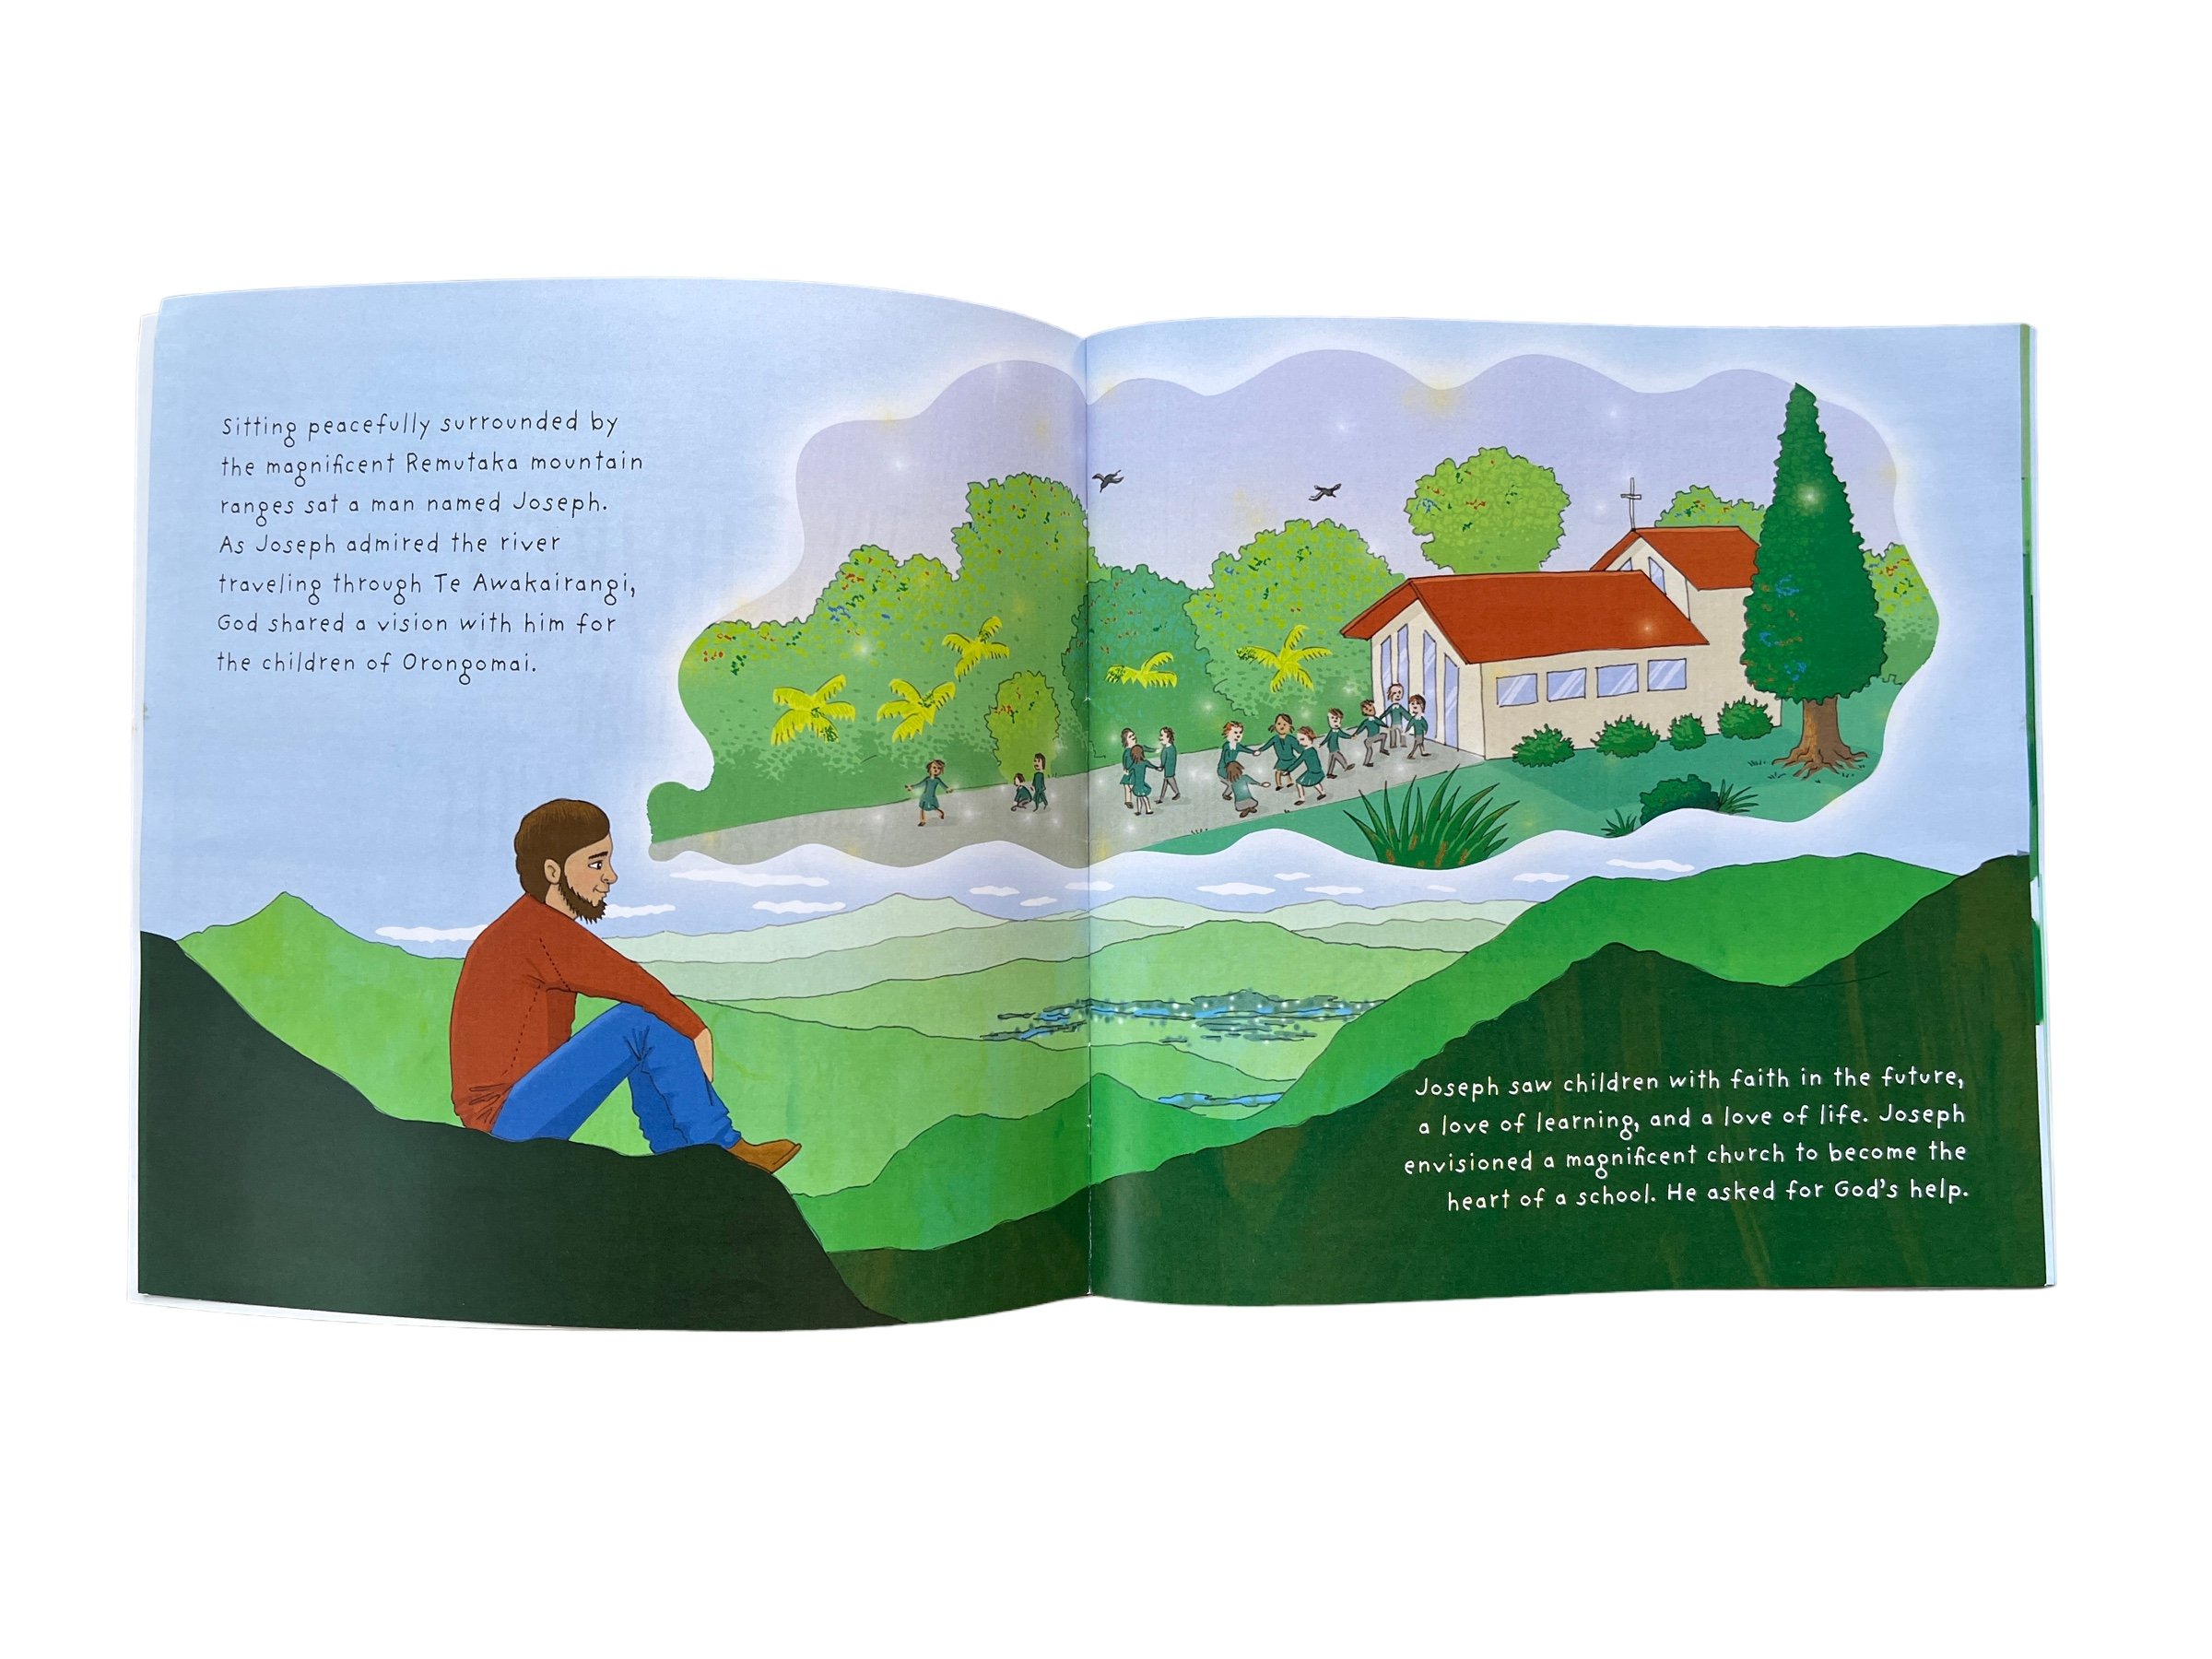
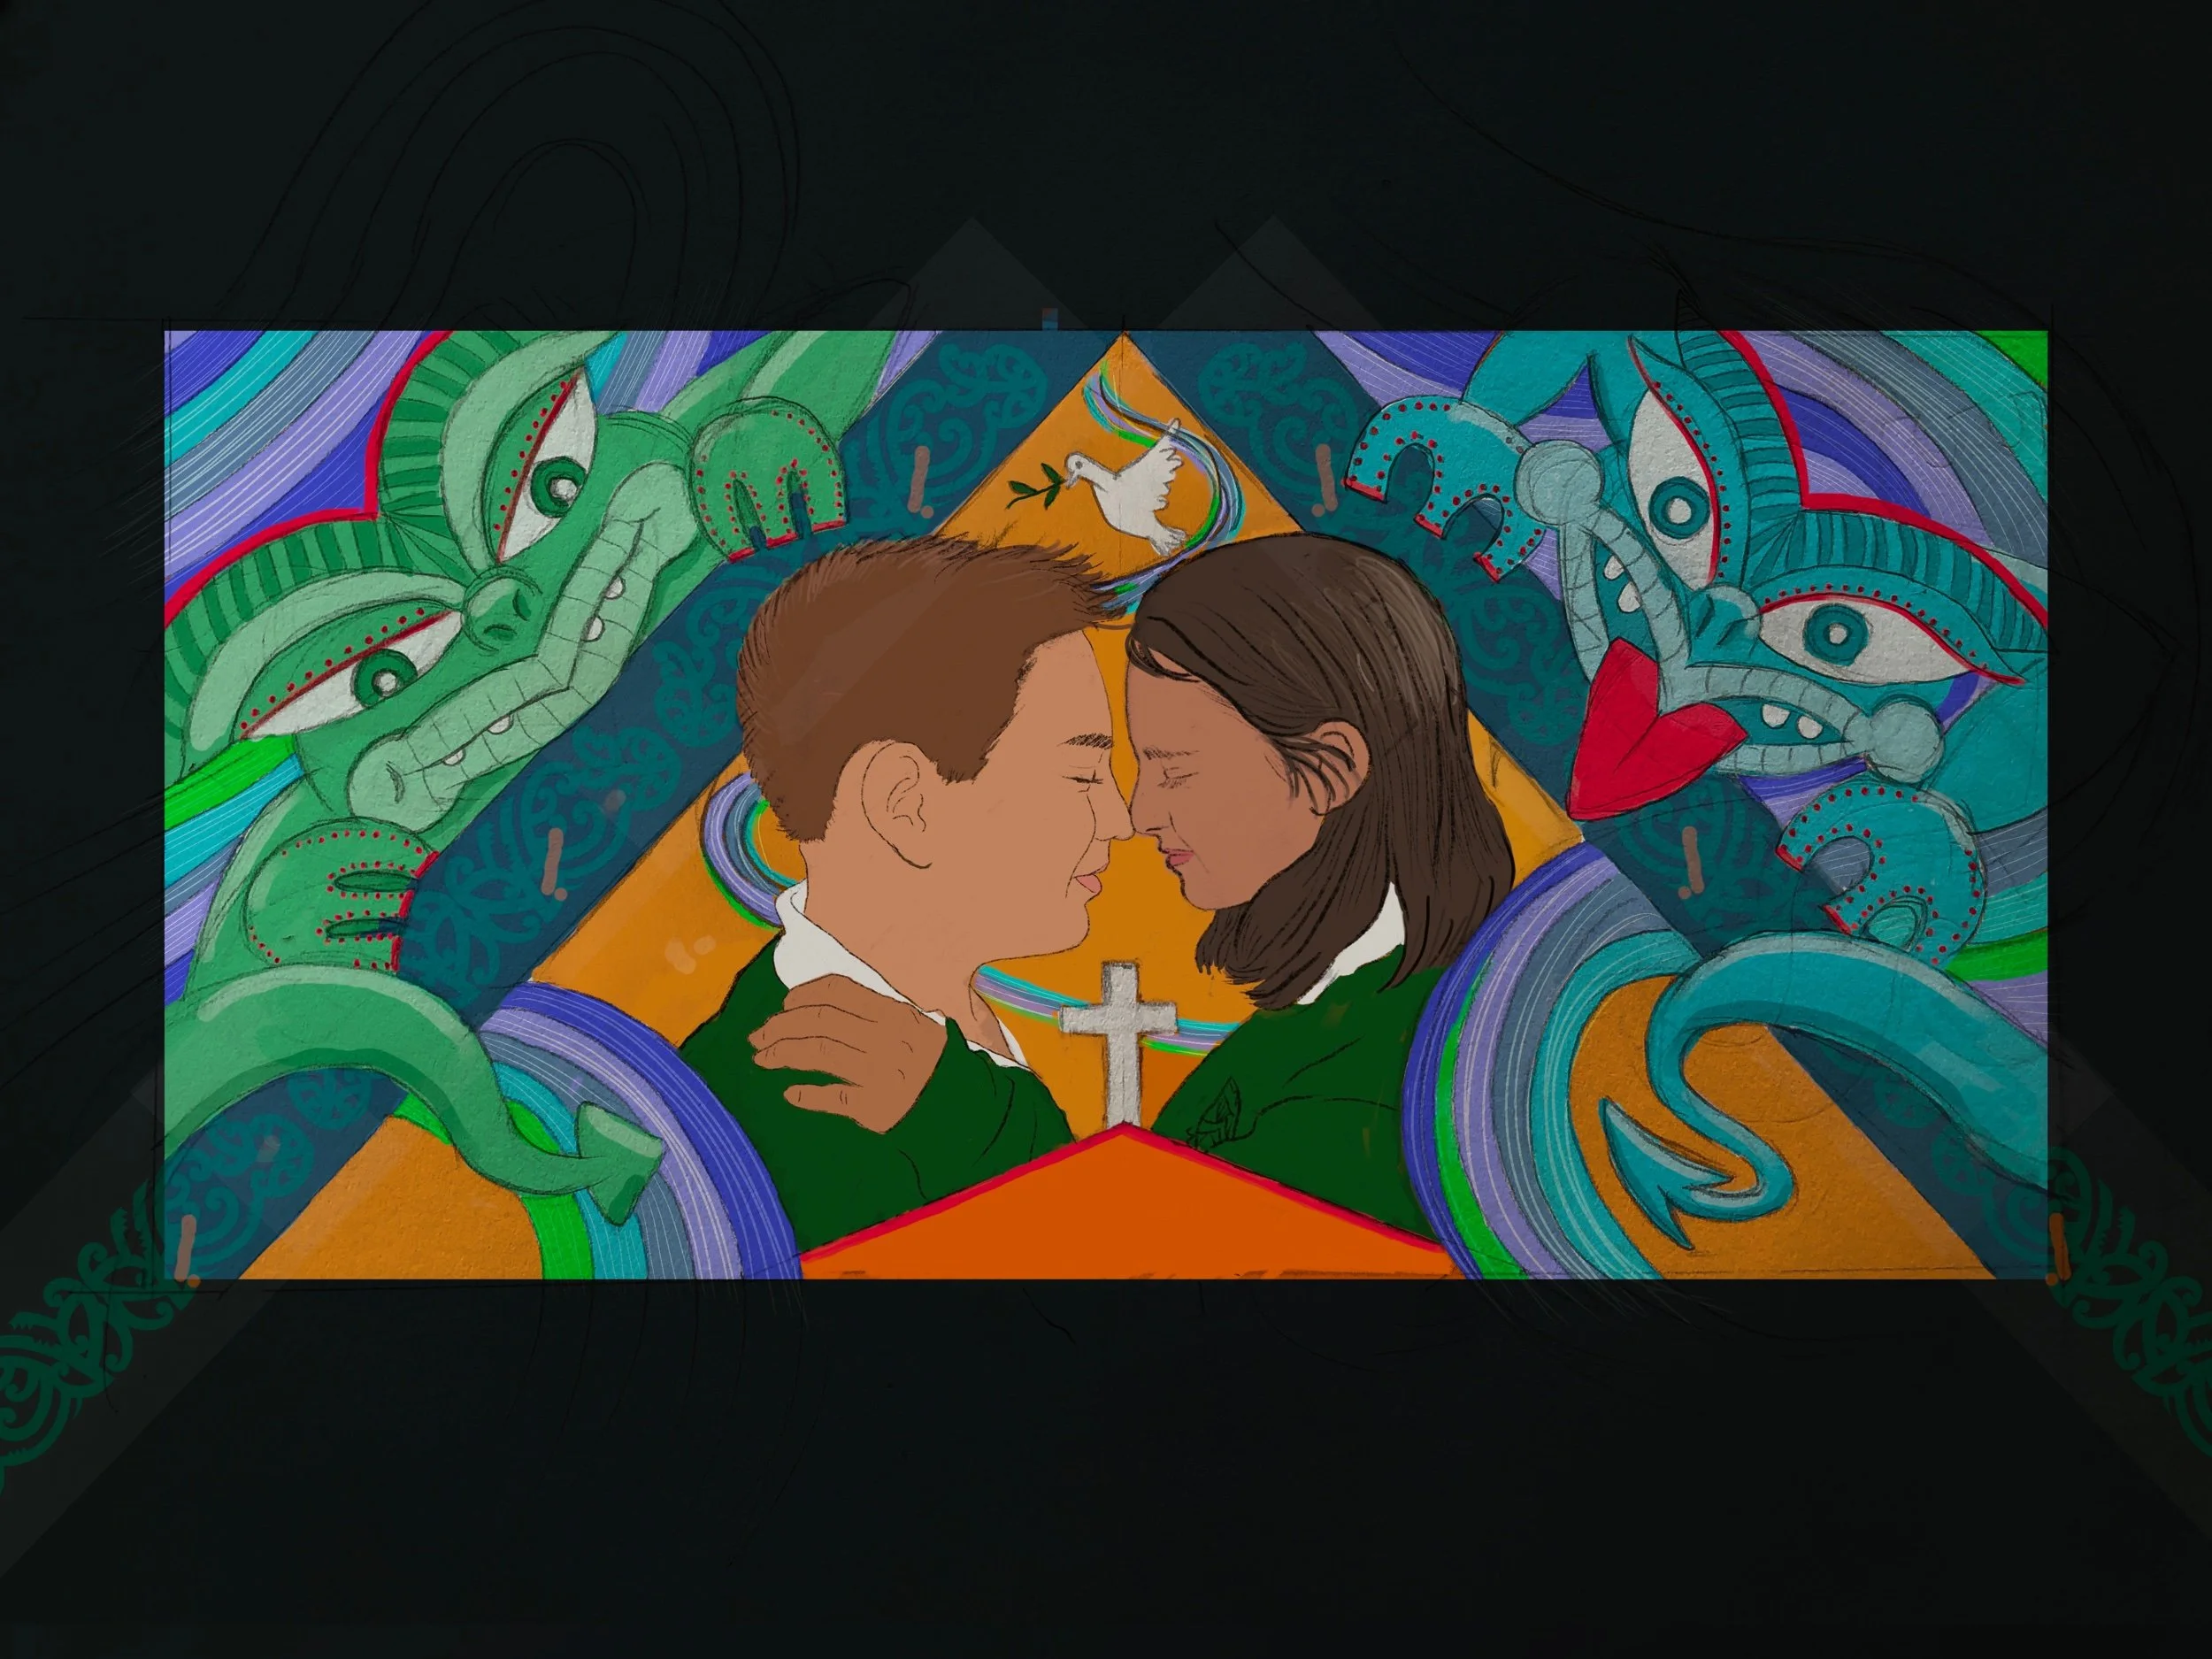
Once this was confirmed I started to create thumbnails of each spread. These were sent through to Andrew and his team and we discussed how the story was to be portrayed visually. I then created some character designs of each of the main characters. These were sent to Andrew and his team to pick their favourites. I then created more detailed sketches of each spread to scale. This step involved a lot of visual fact checking as there are many real historical people they needed to show likeness and be accurately represented.
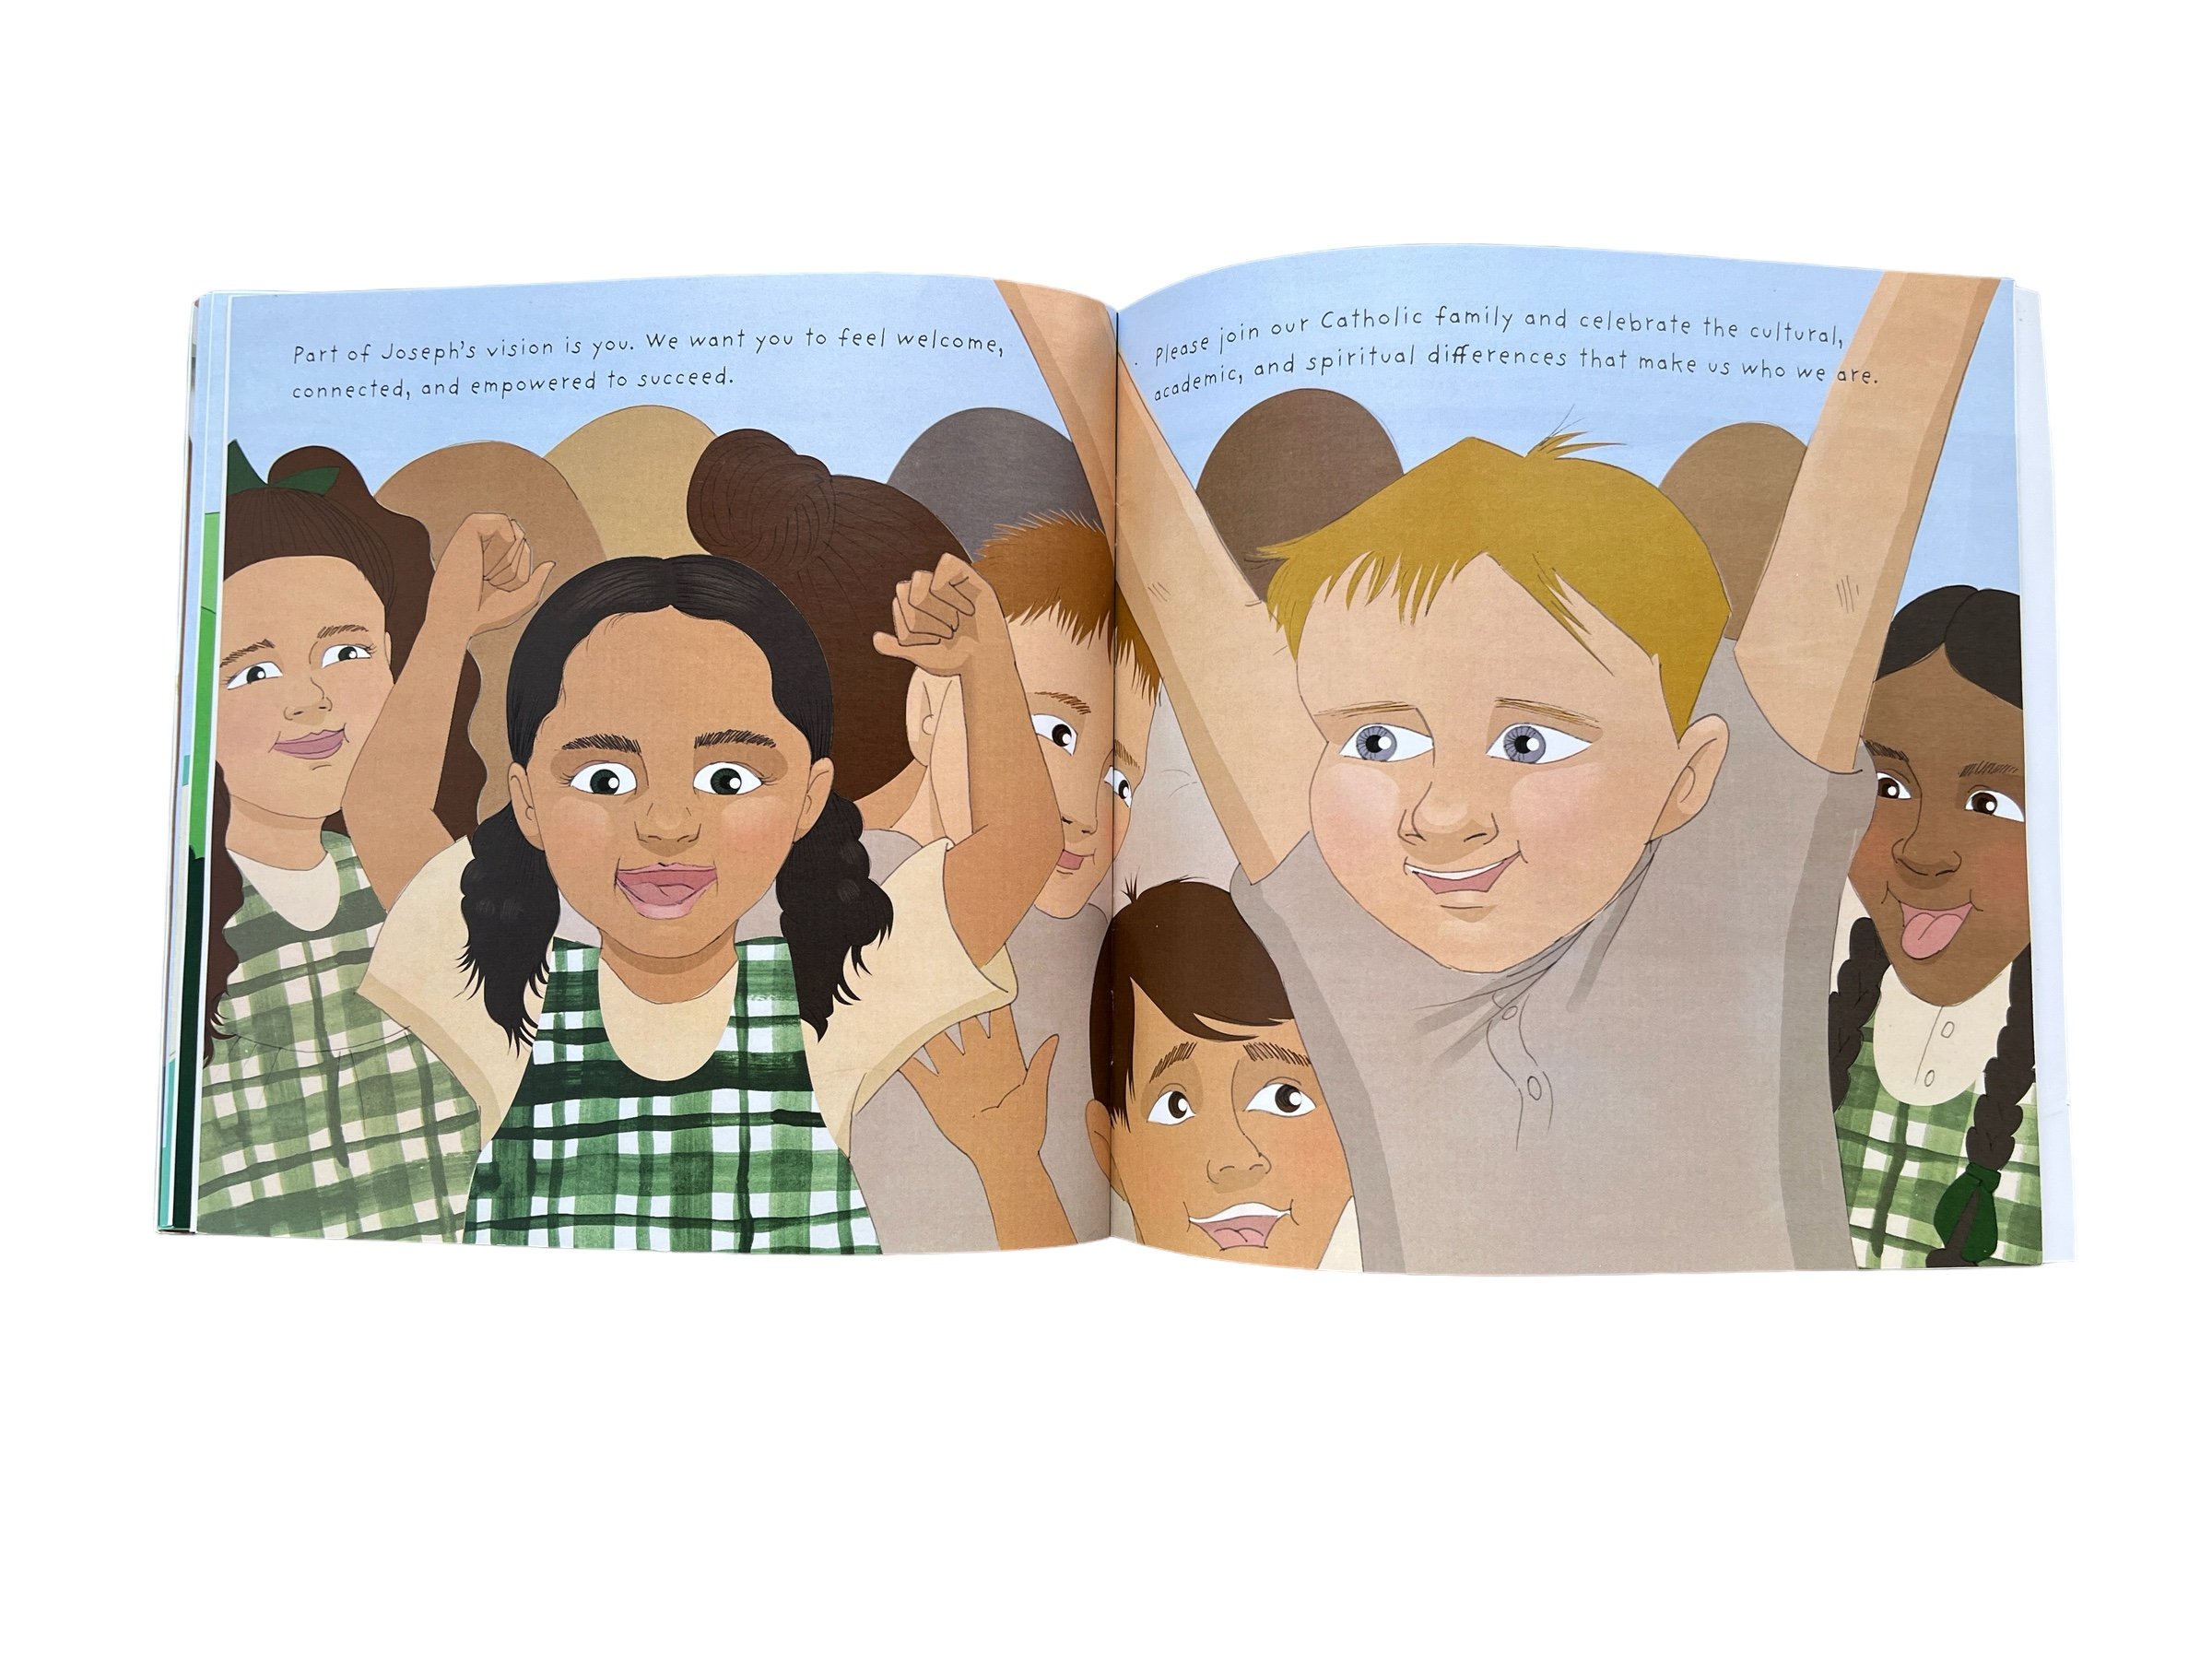
Once these pencil sketches were perfect and approved I coloured up one spread digitally to a final illustration. With some small adjustments to the overall look and feel of the book I continued to work my way through the rest of the illustrations.
The final illustrations we placed with the text layout and the book design was finessed. We sent the final book to a professional editing service to make sure there was no missed errors. We then added a page at the end with some historical photos of the school and church. We sent it off the the printers for a proof. The proof was great. So we proceeded with a large print run. Every child to start the school over the next 10 years or so will get a copy of this book. Such a wonderful project to be part of and I am so proud of the end result!
Questions
How long does a project like this take?
I would allow at least 3 months but ideally 6 months.
How much does a project like this cost?
Each book project will vary in price depending on number of pages, number of illustrations and number of copies you would like printed. Bear in mind once the artwork is created you can use it over and over again in many applications throughout the school. Once you have a rough idea get in touch with me for an official quote so you can secure the correct funding.
Costs involved
Editing
Illustration
Book design/layout
Printing
Shipping
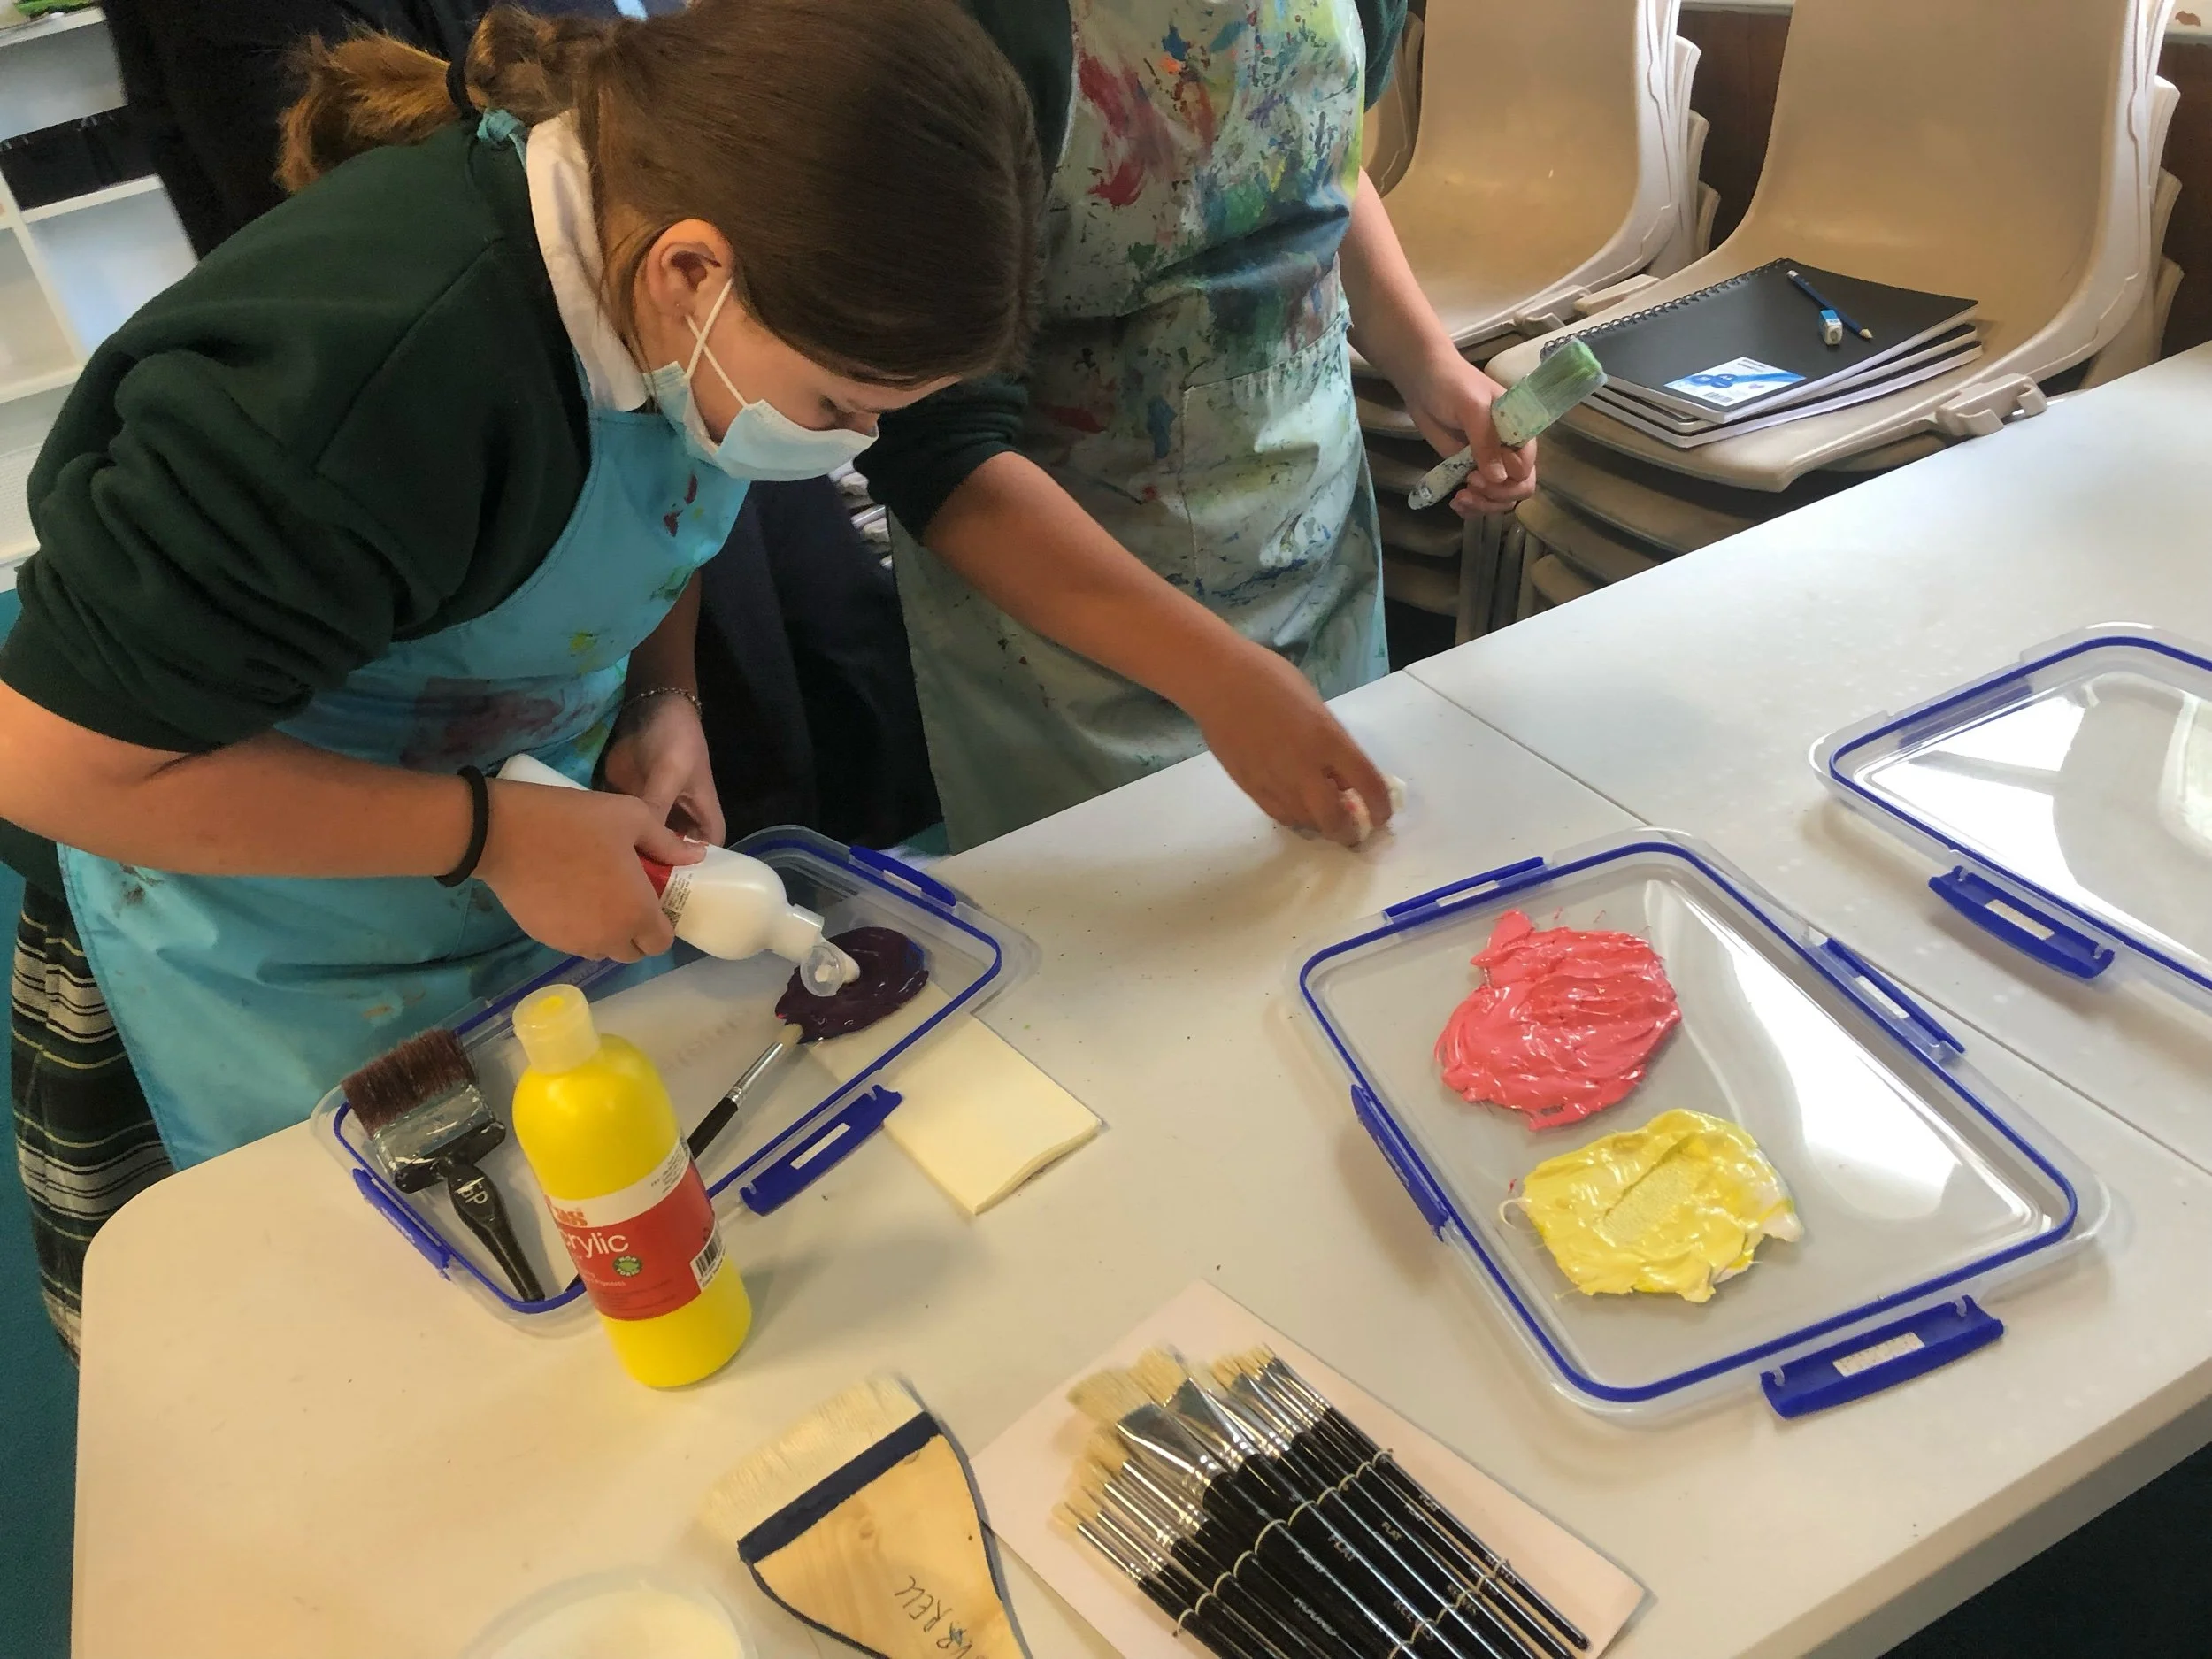
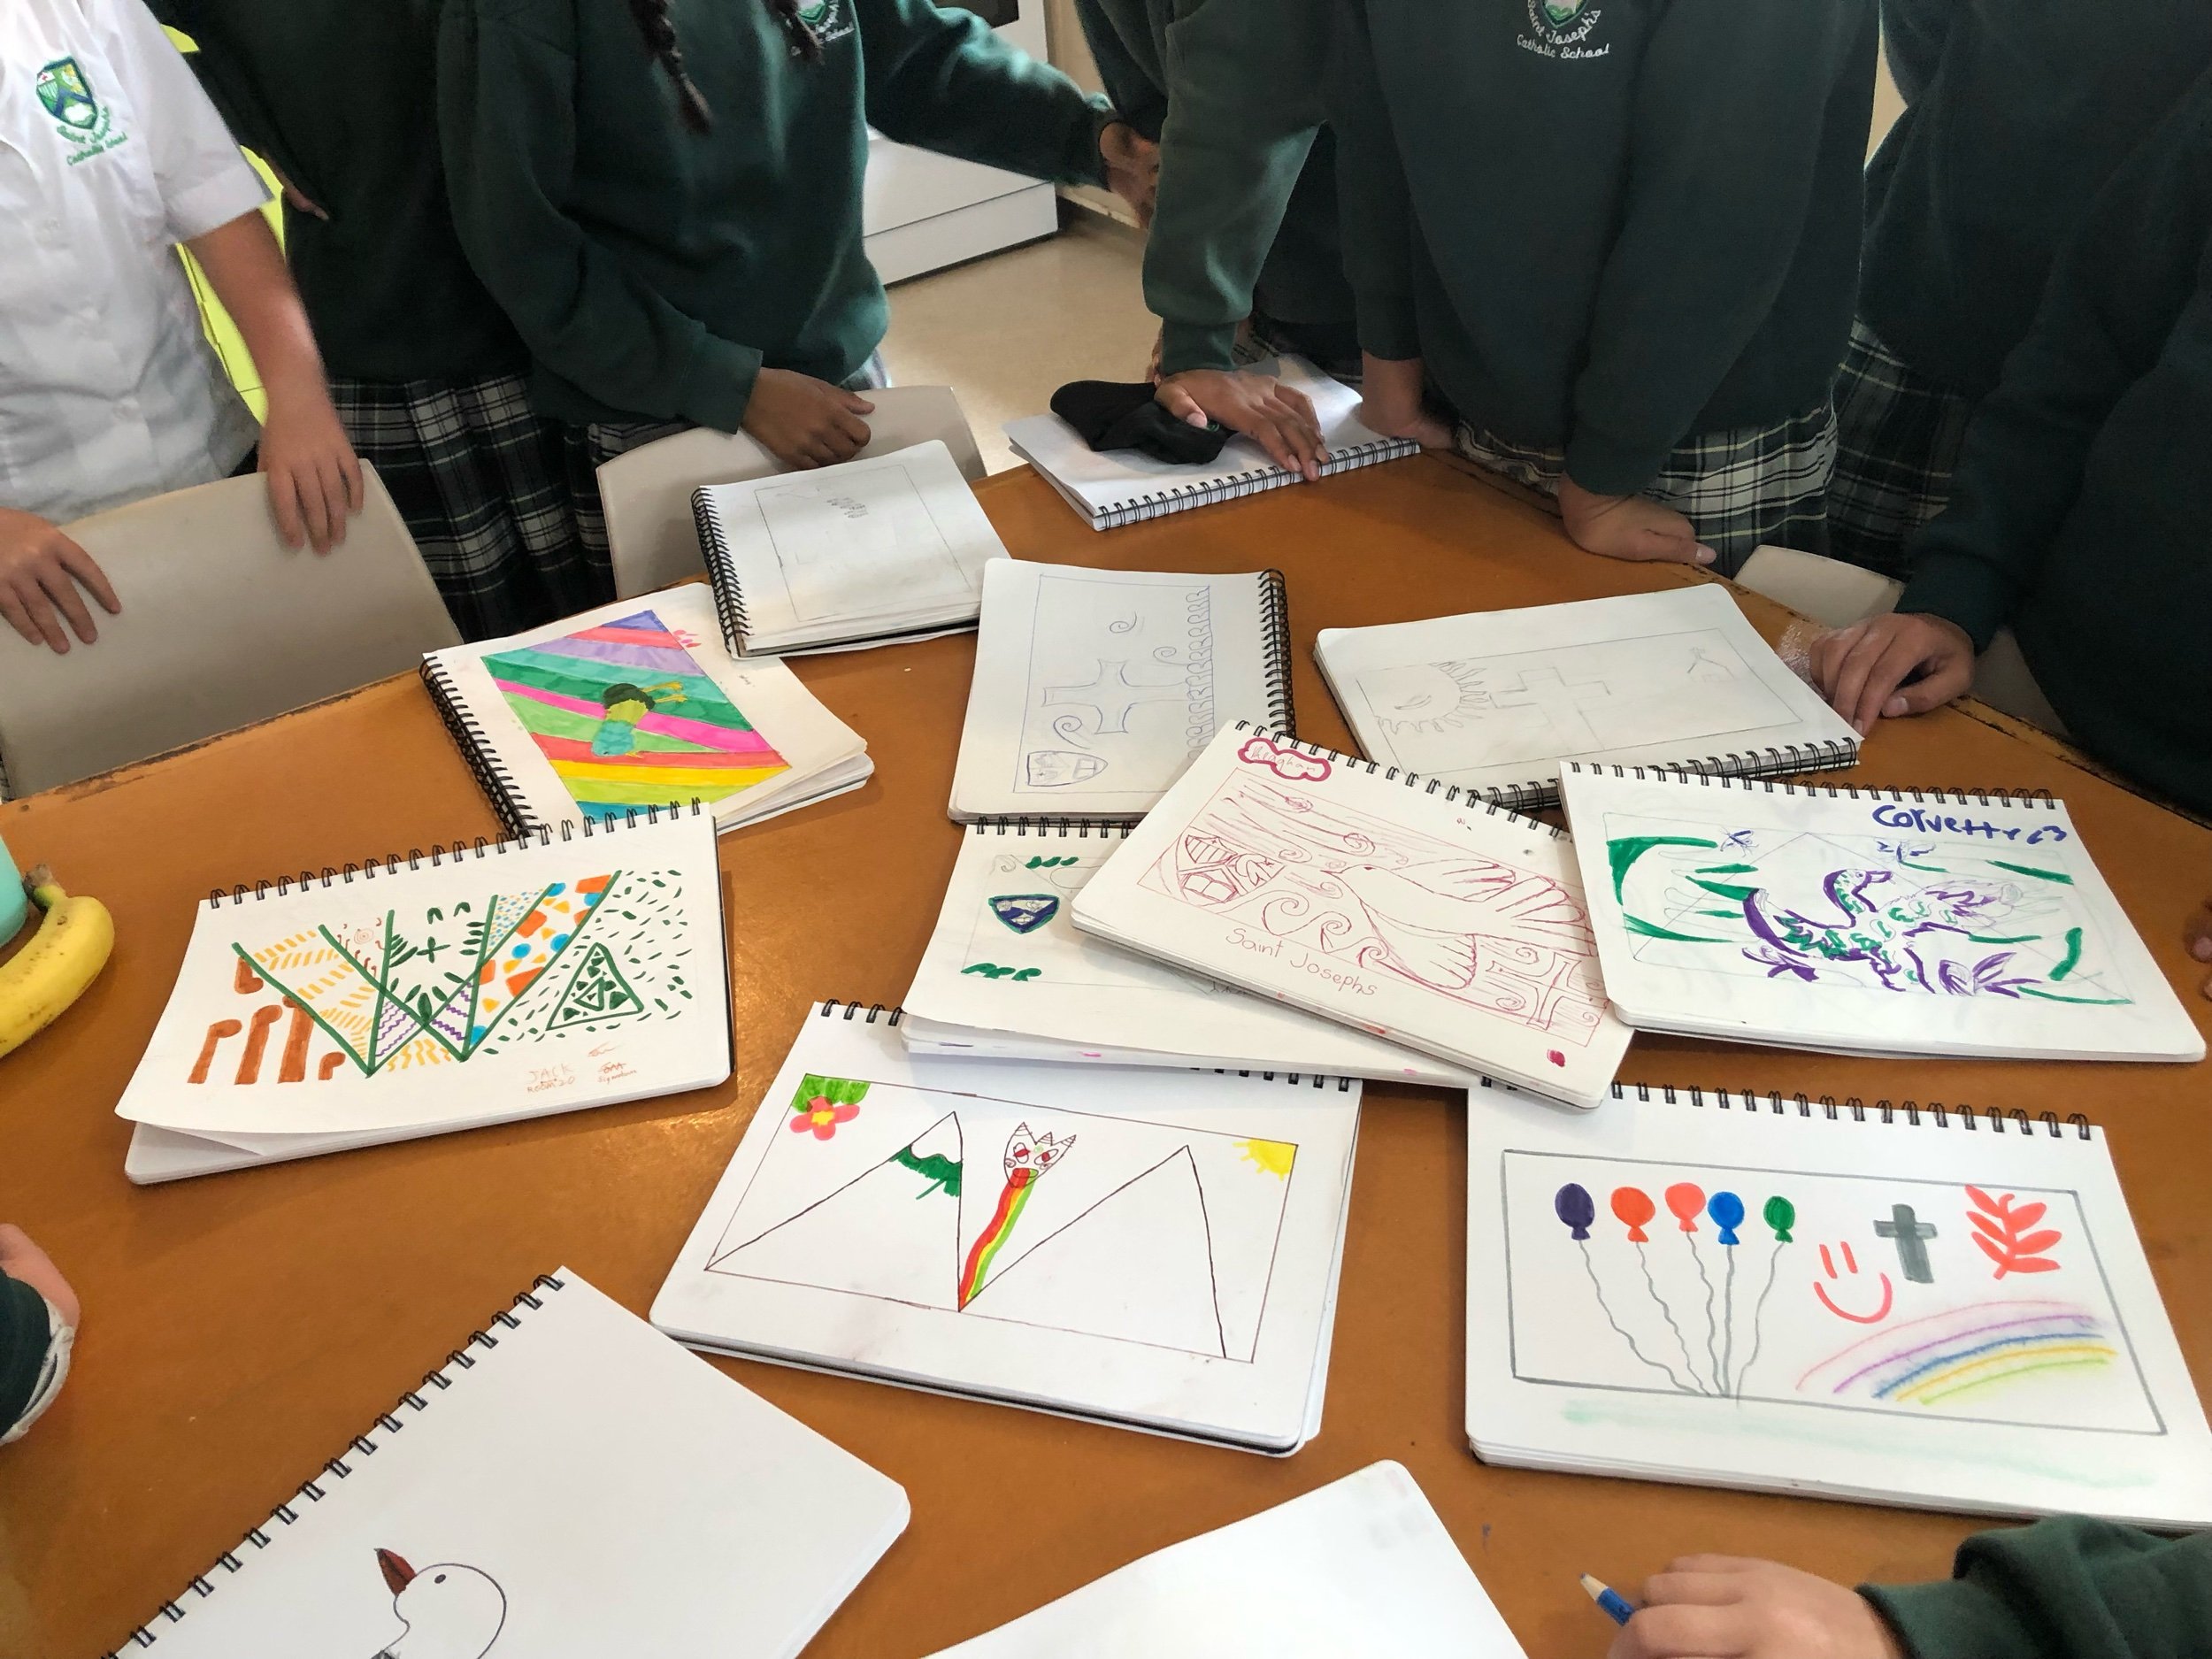
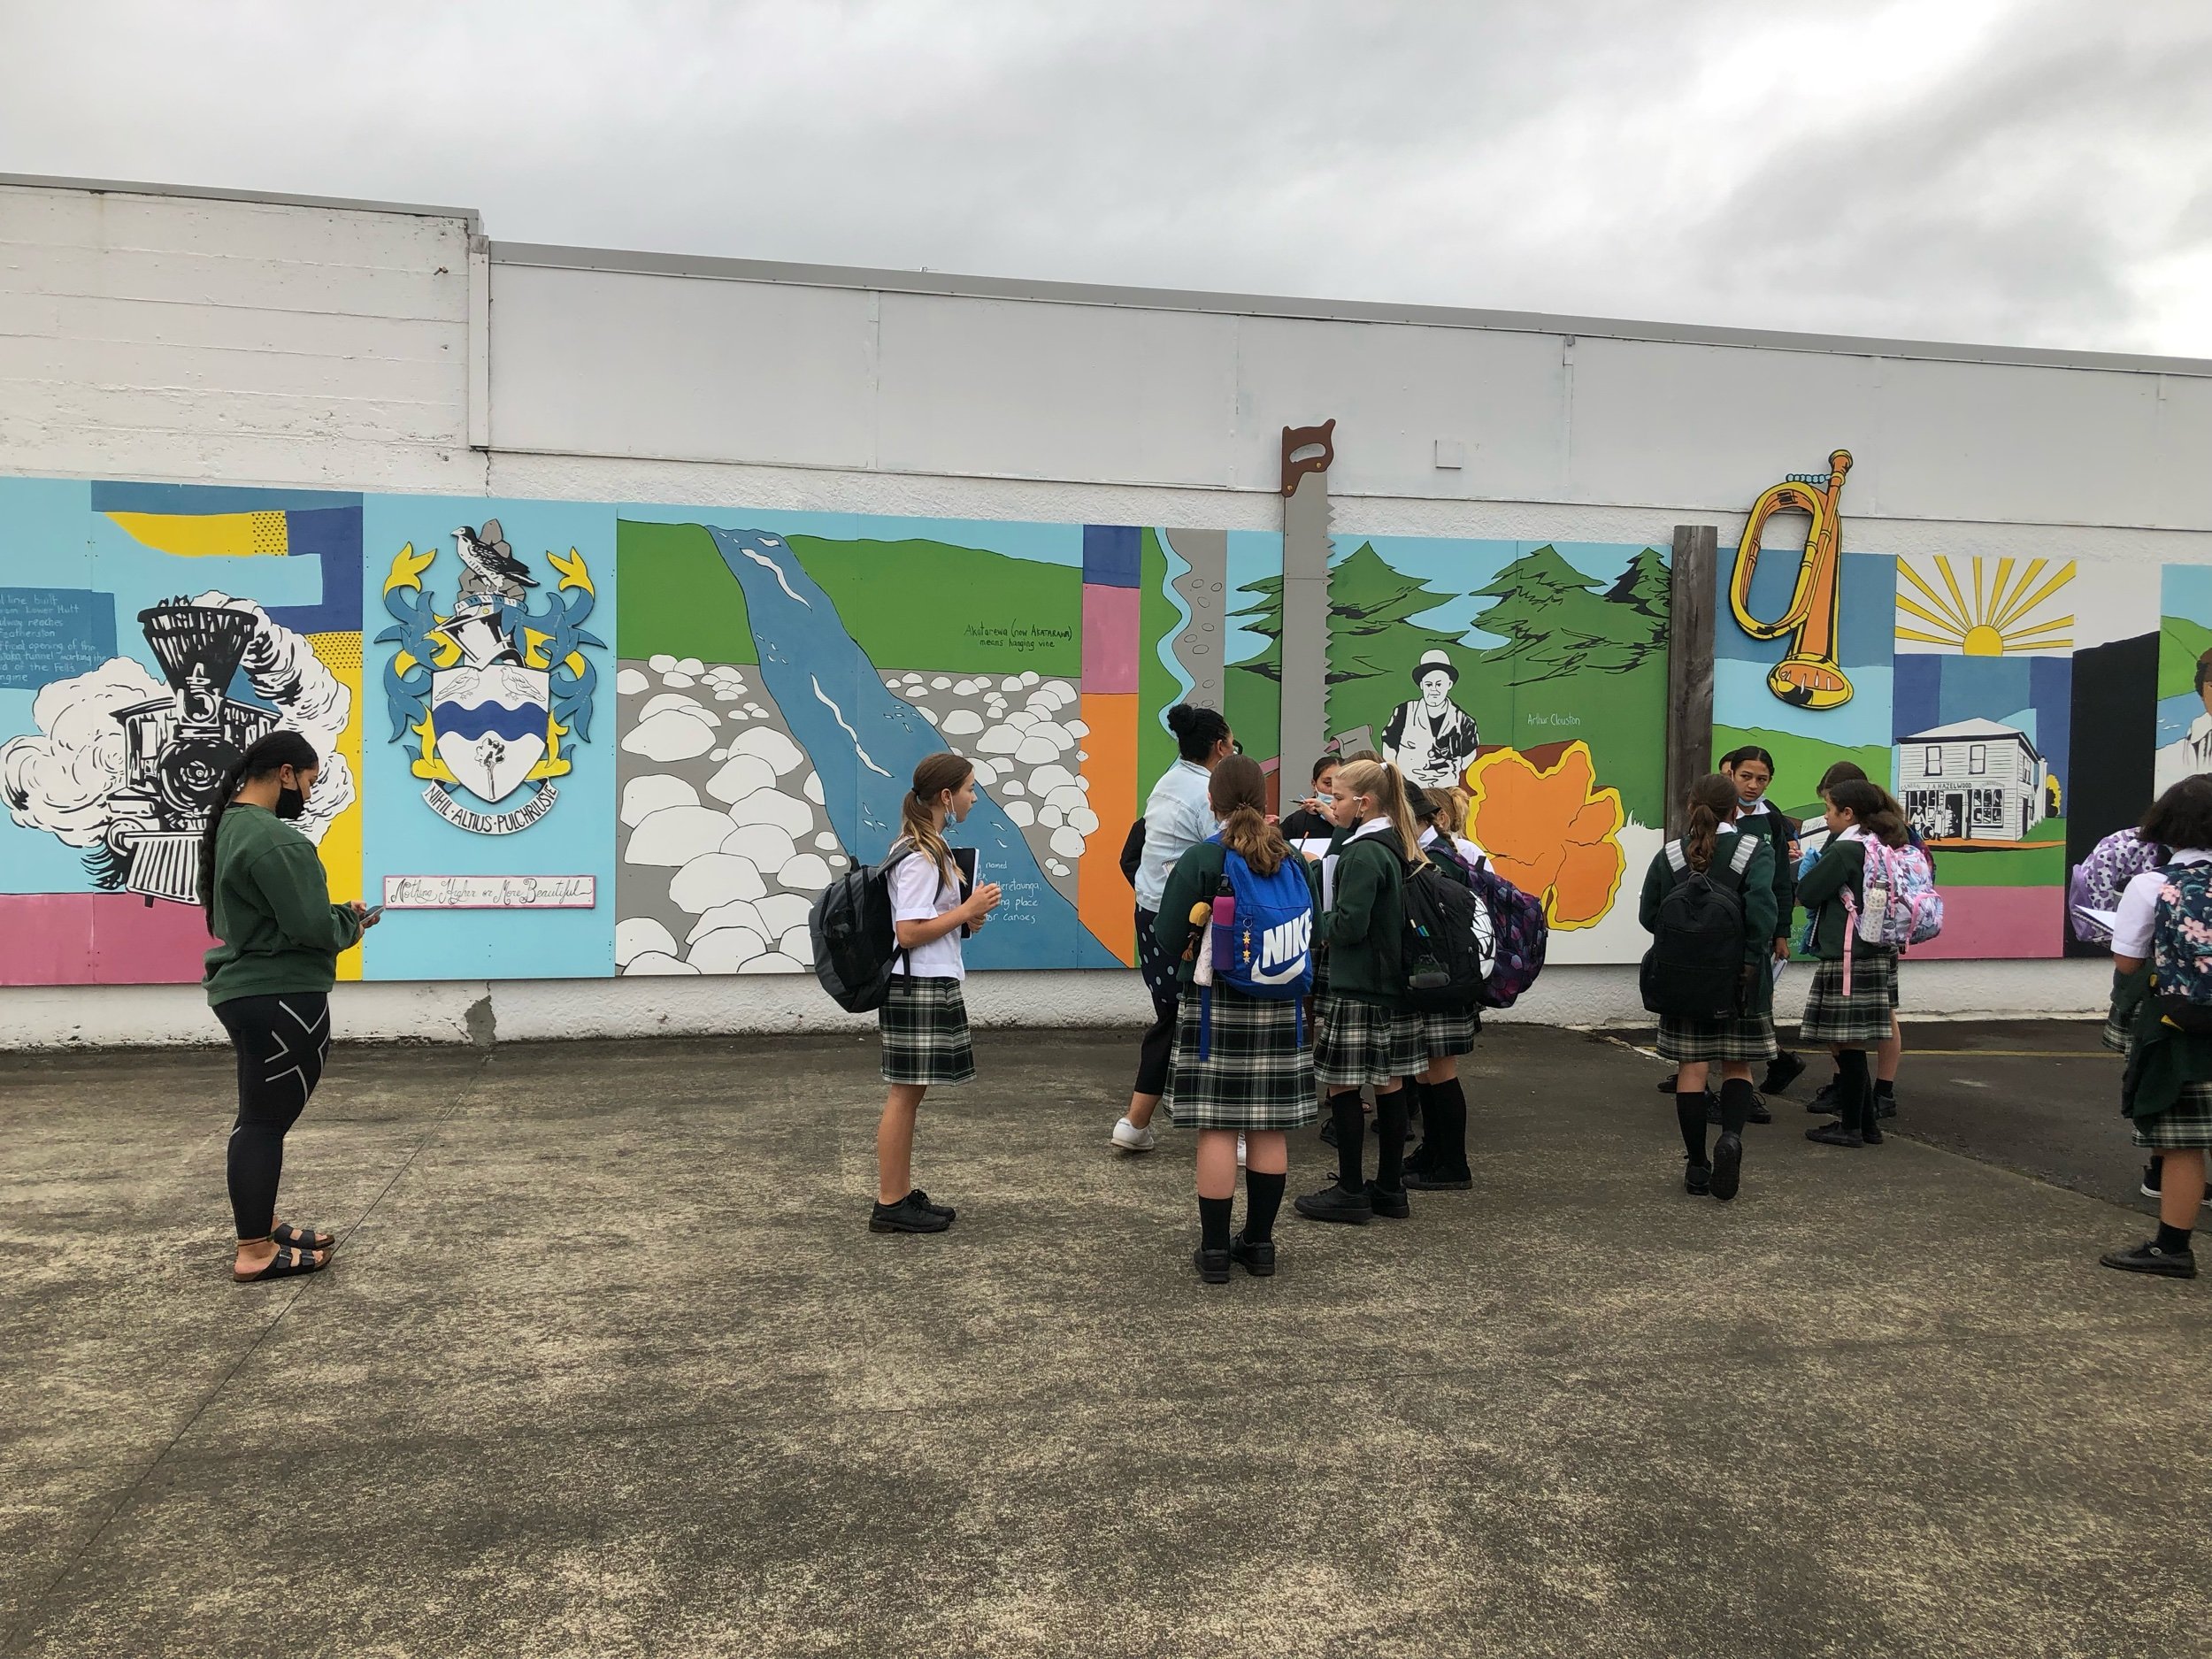
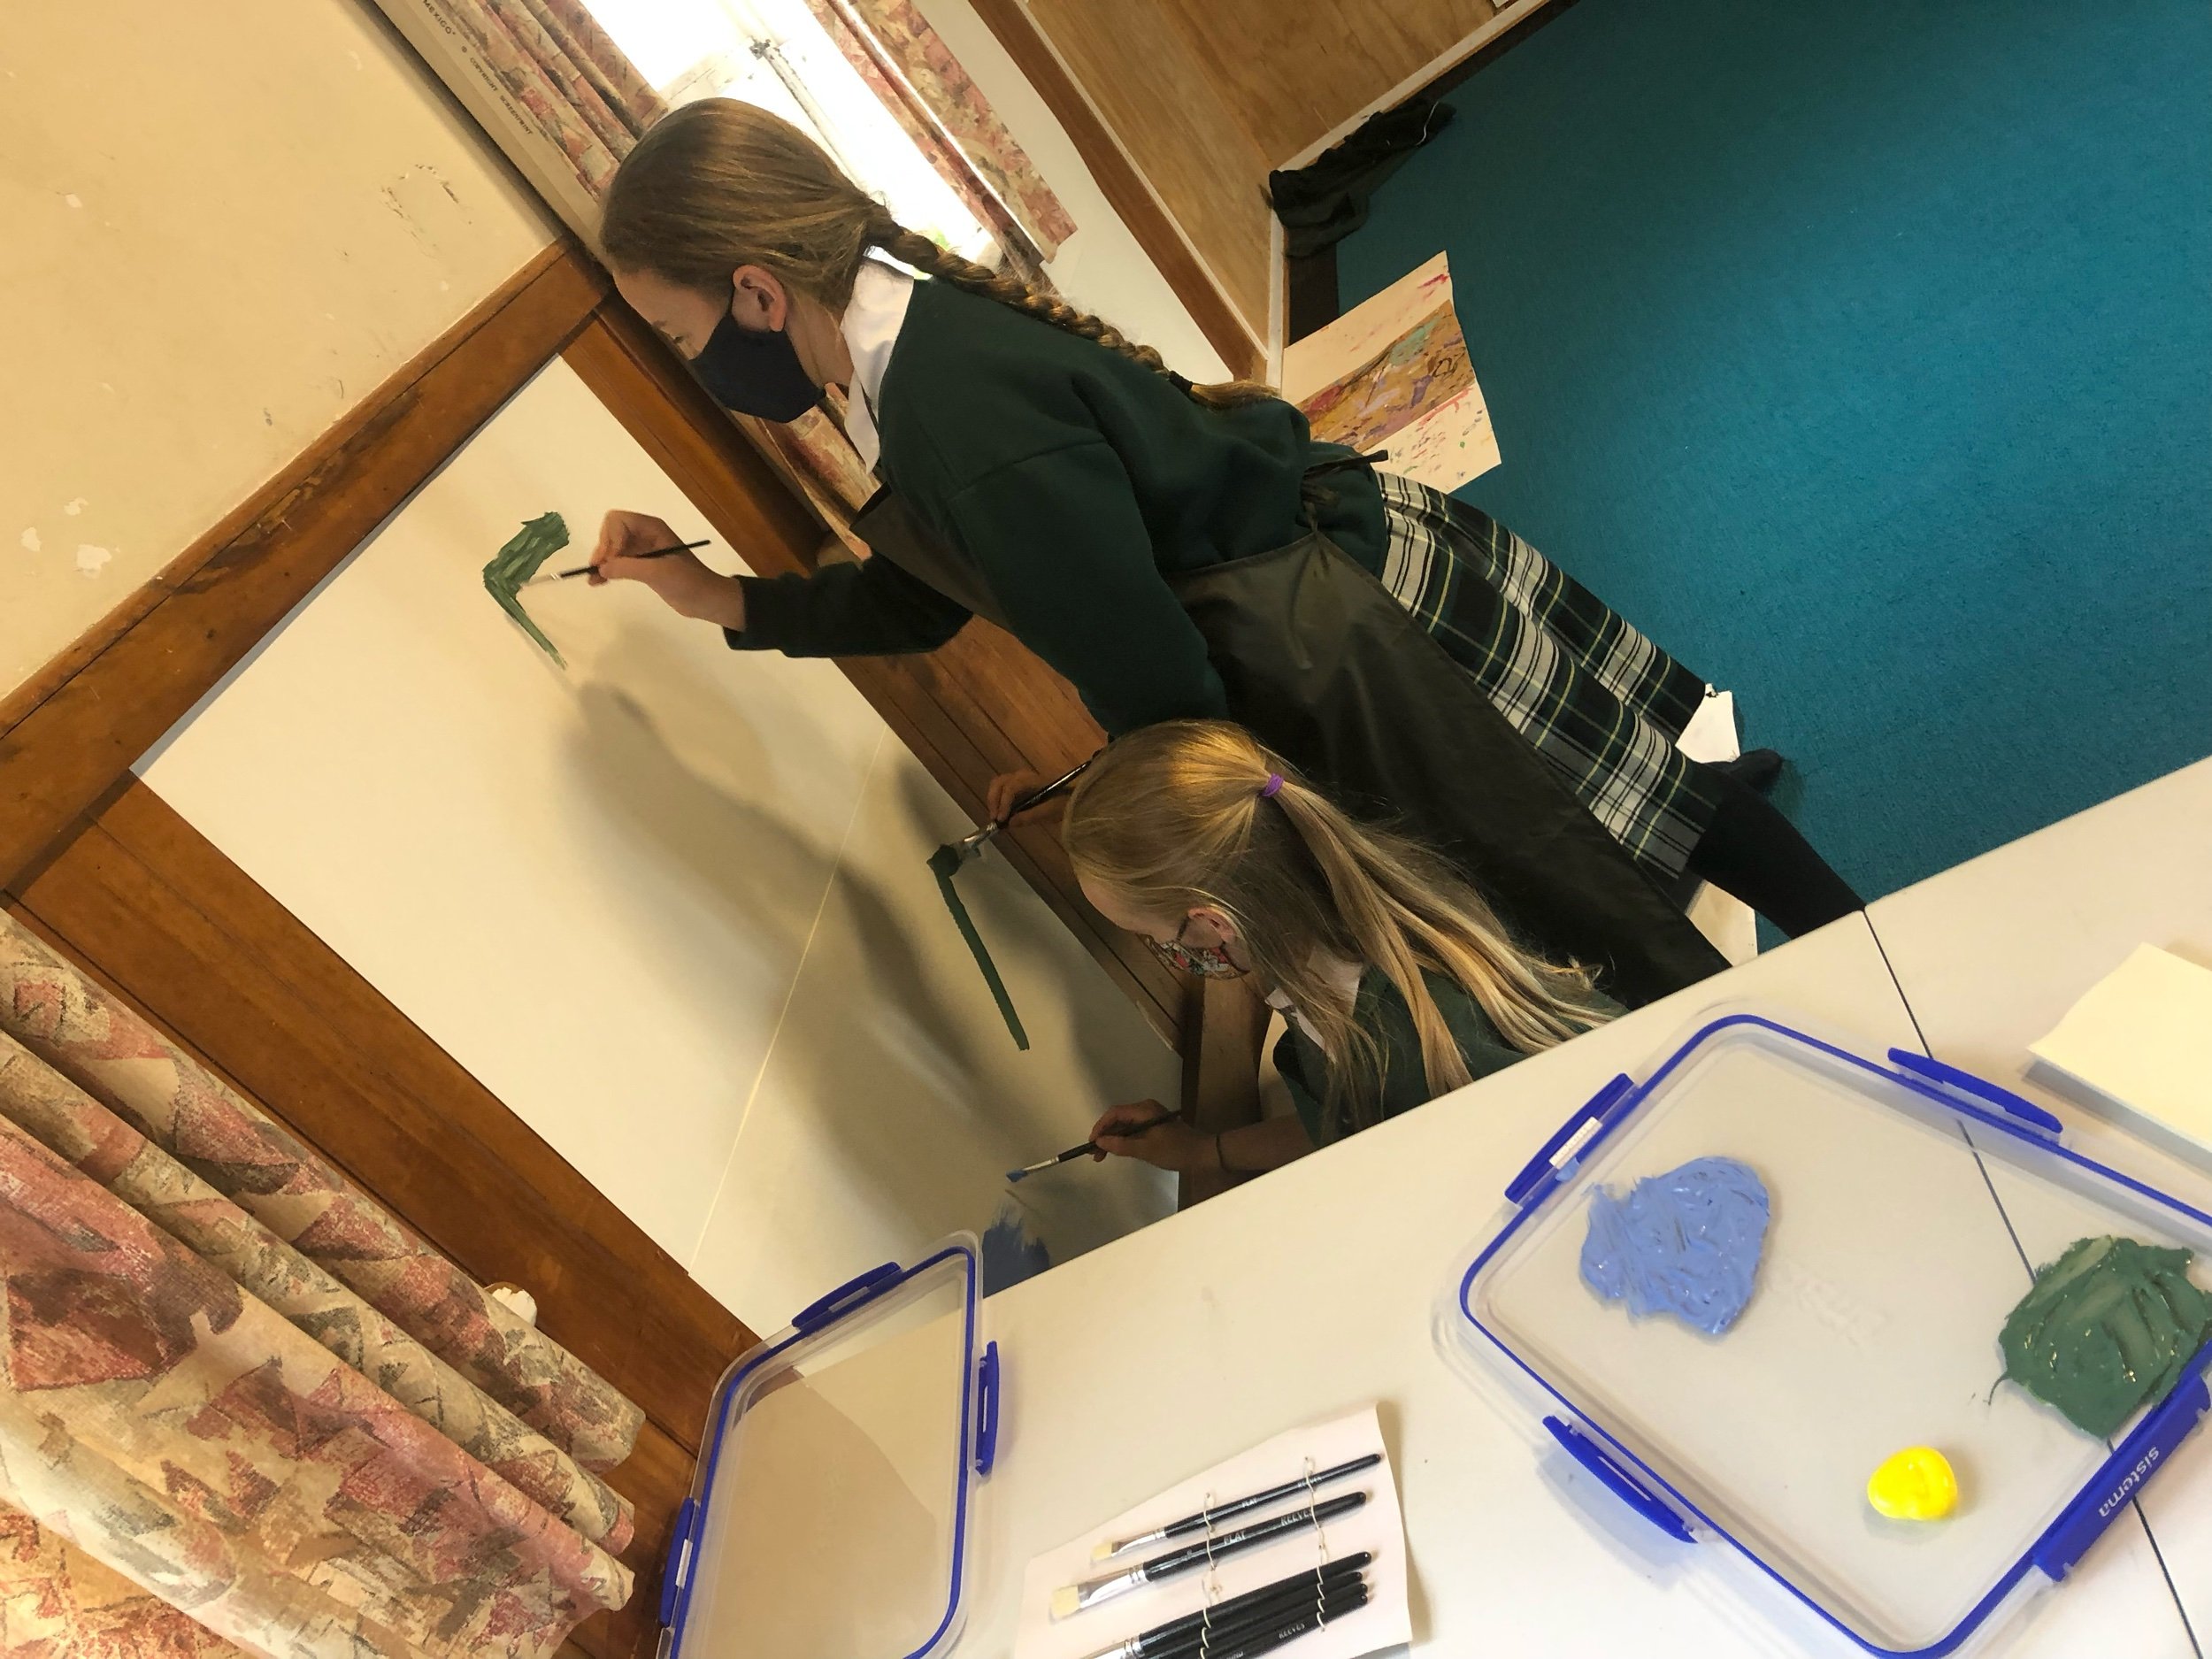
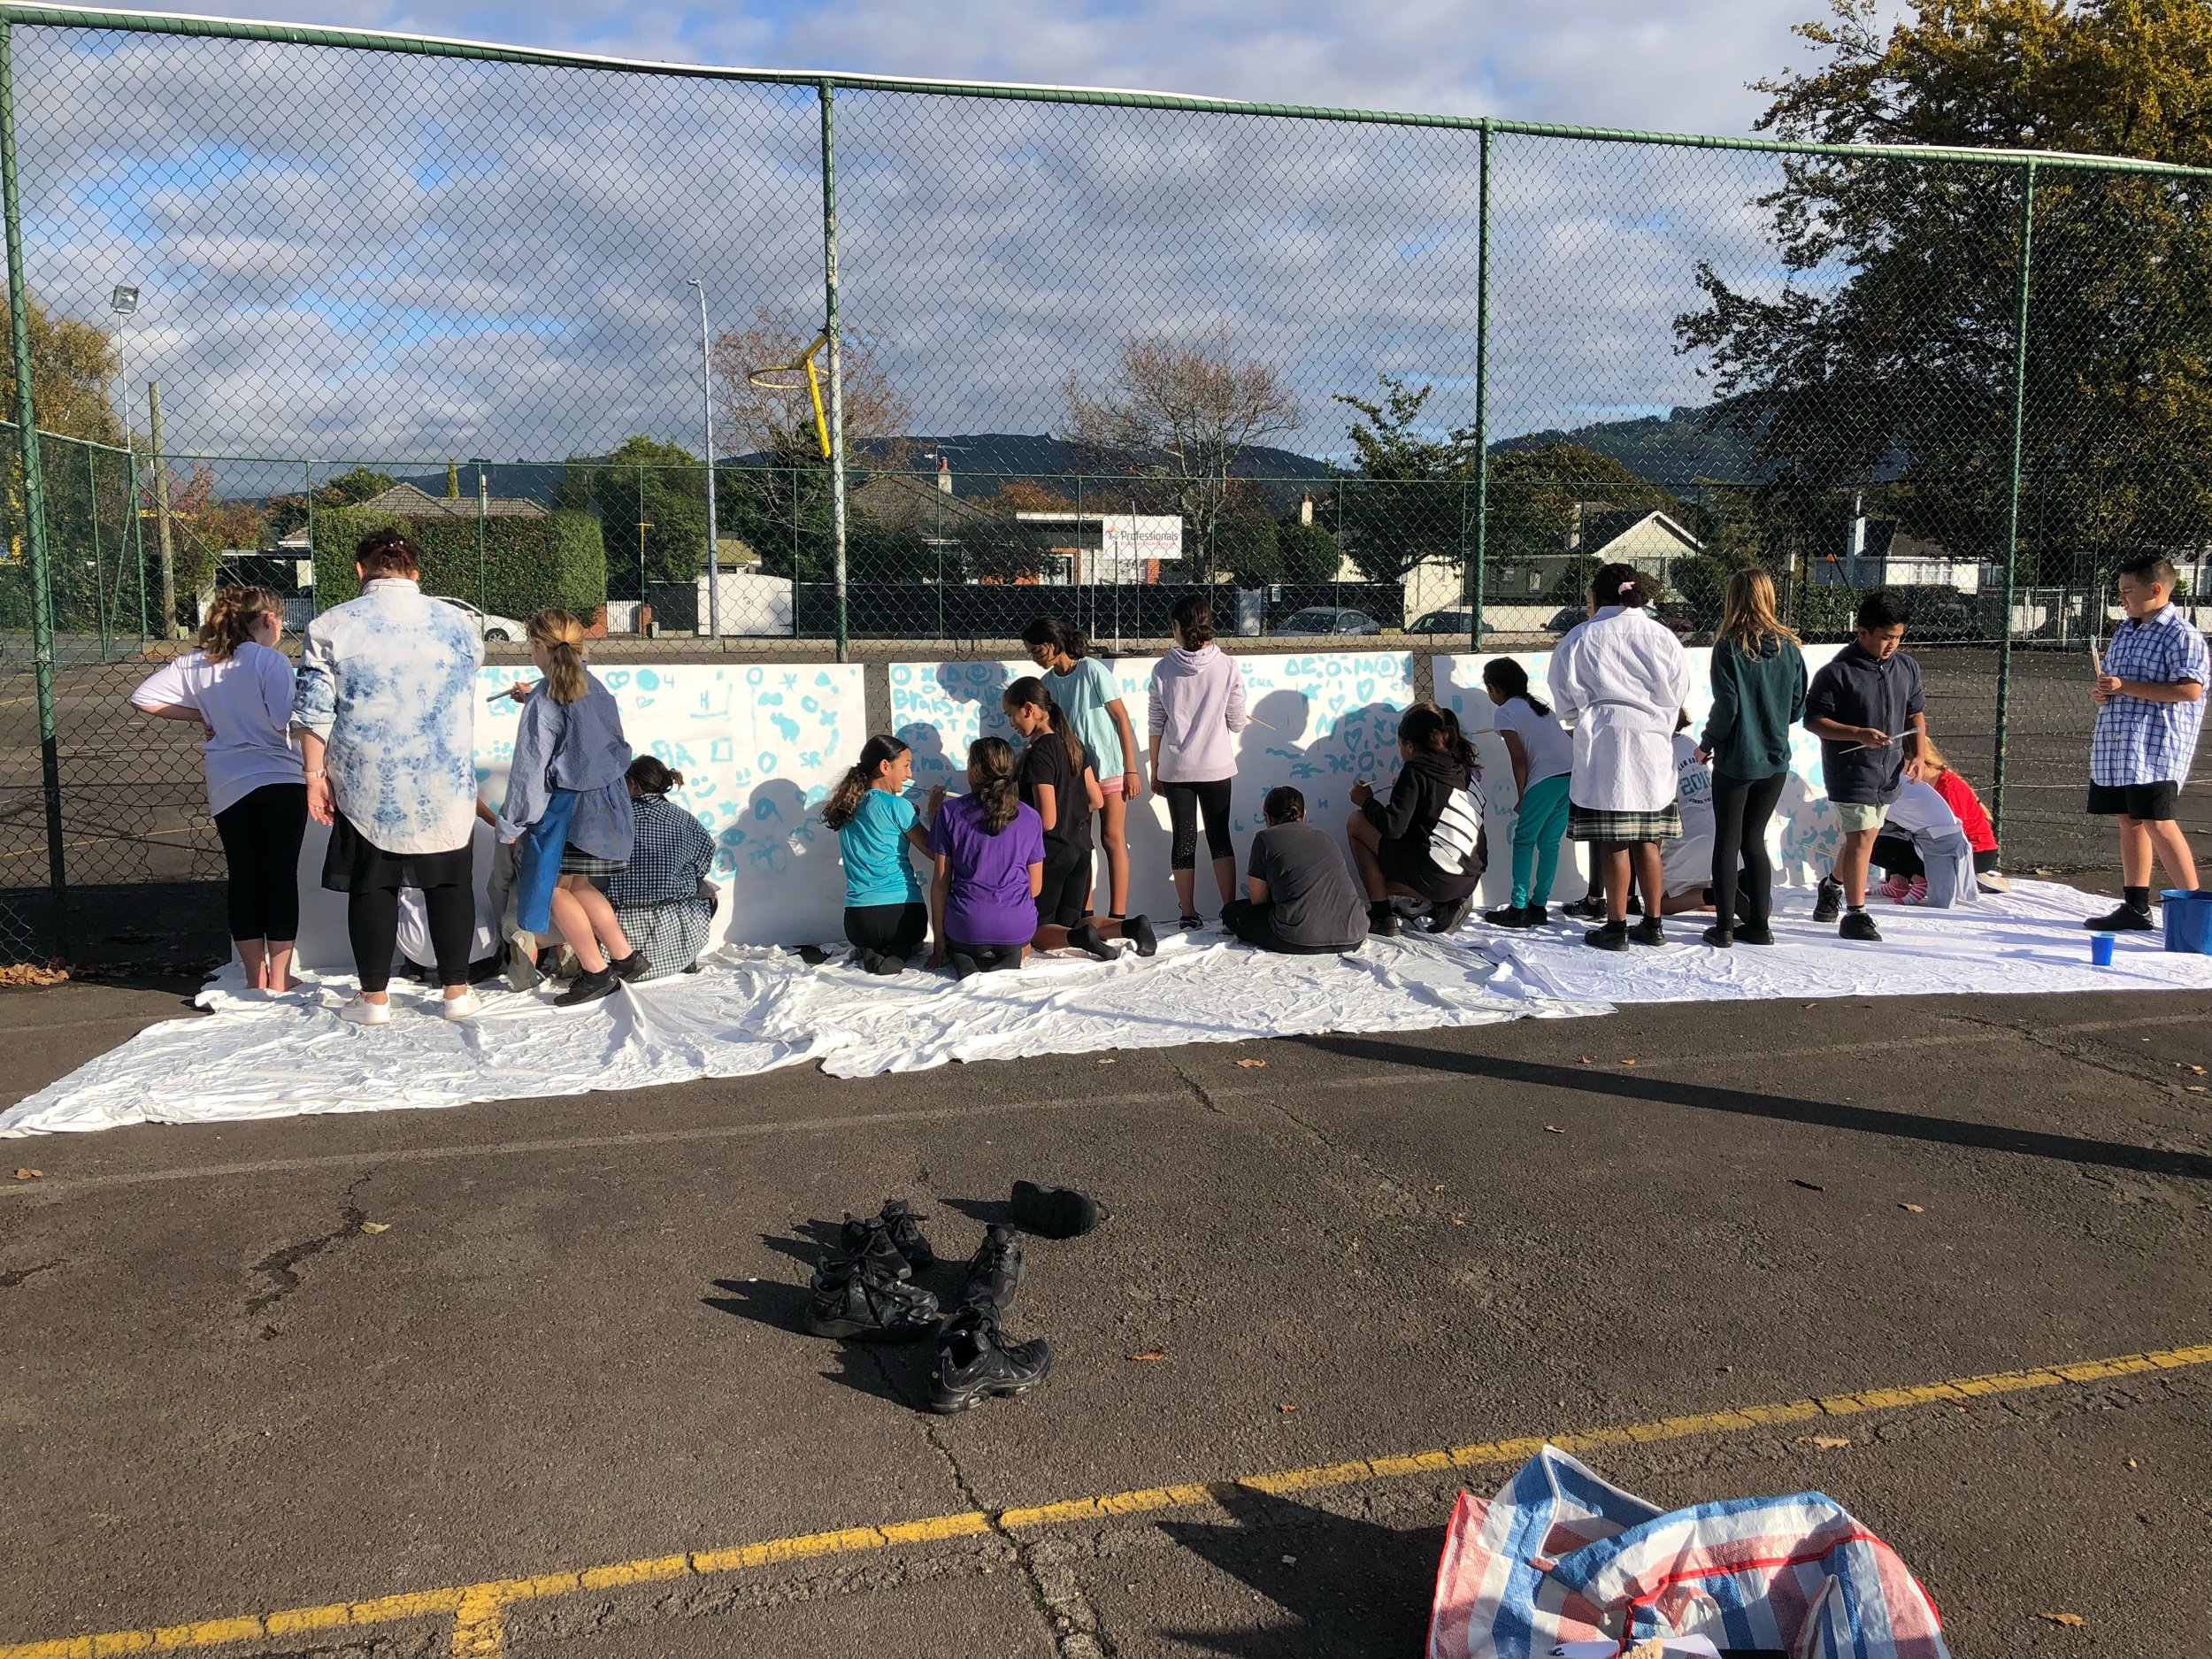
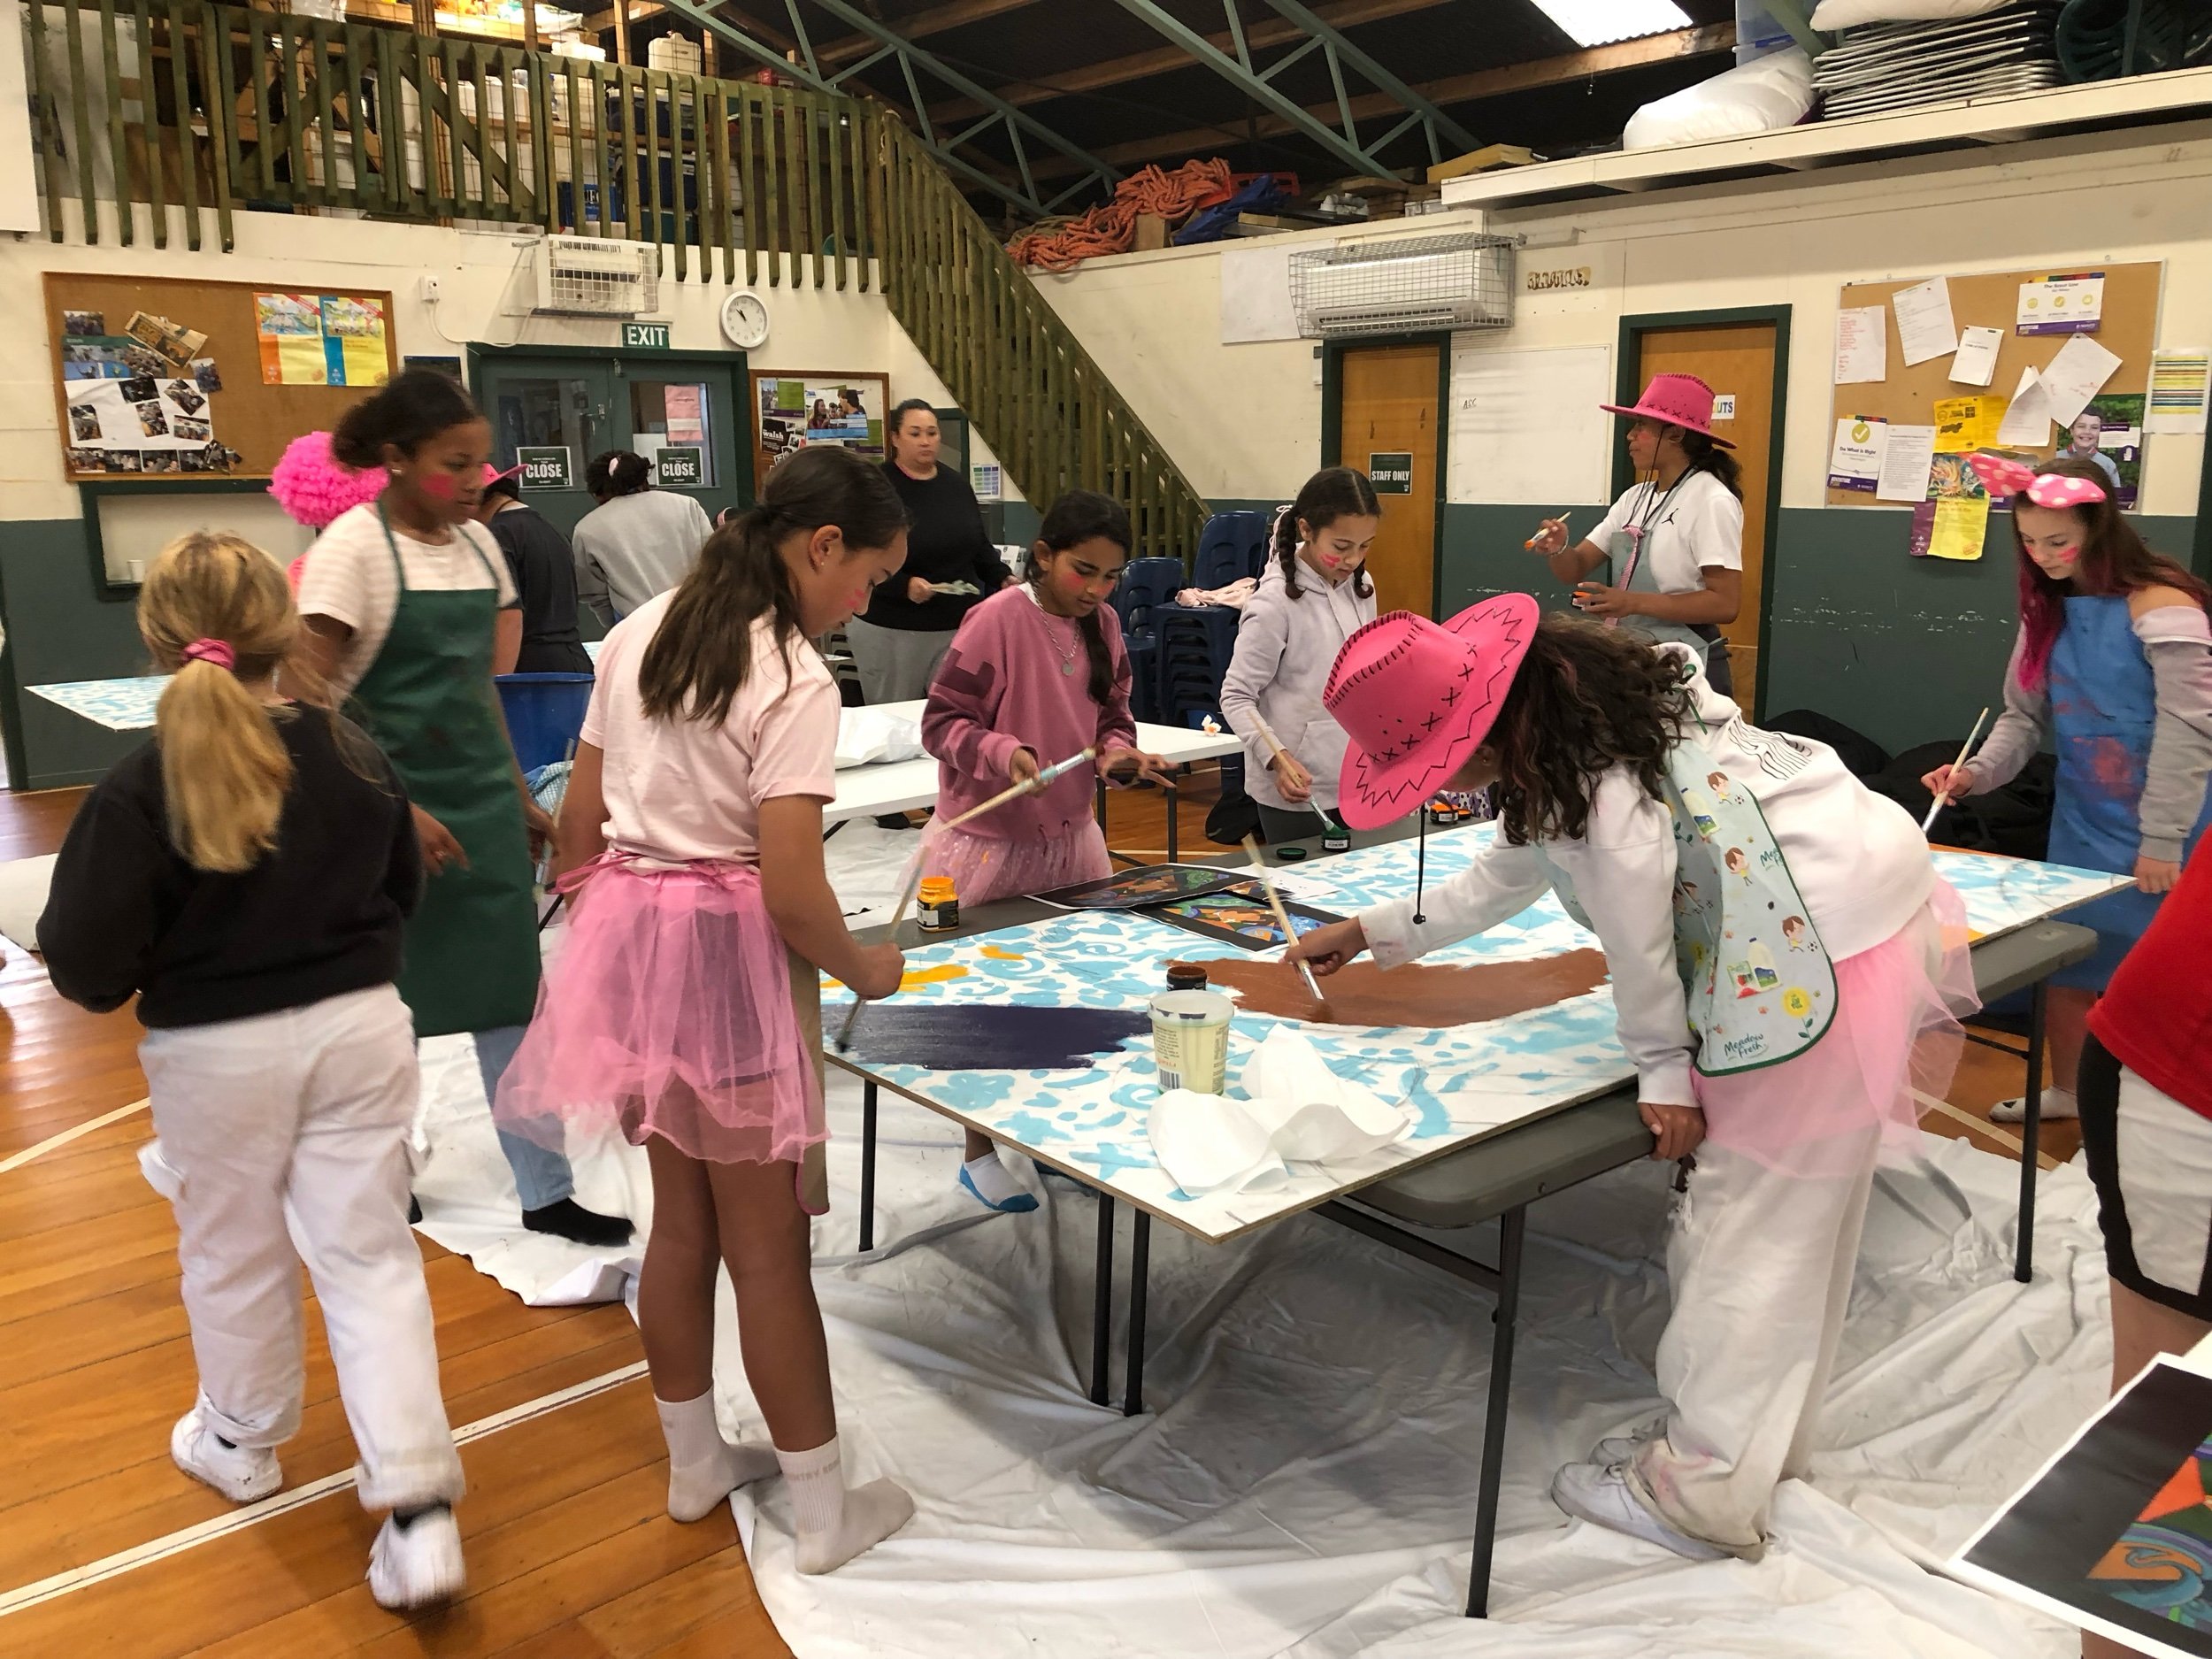
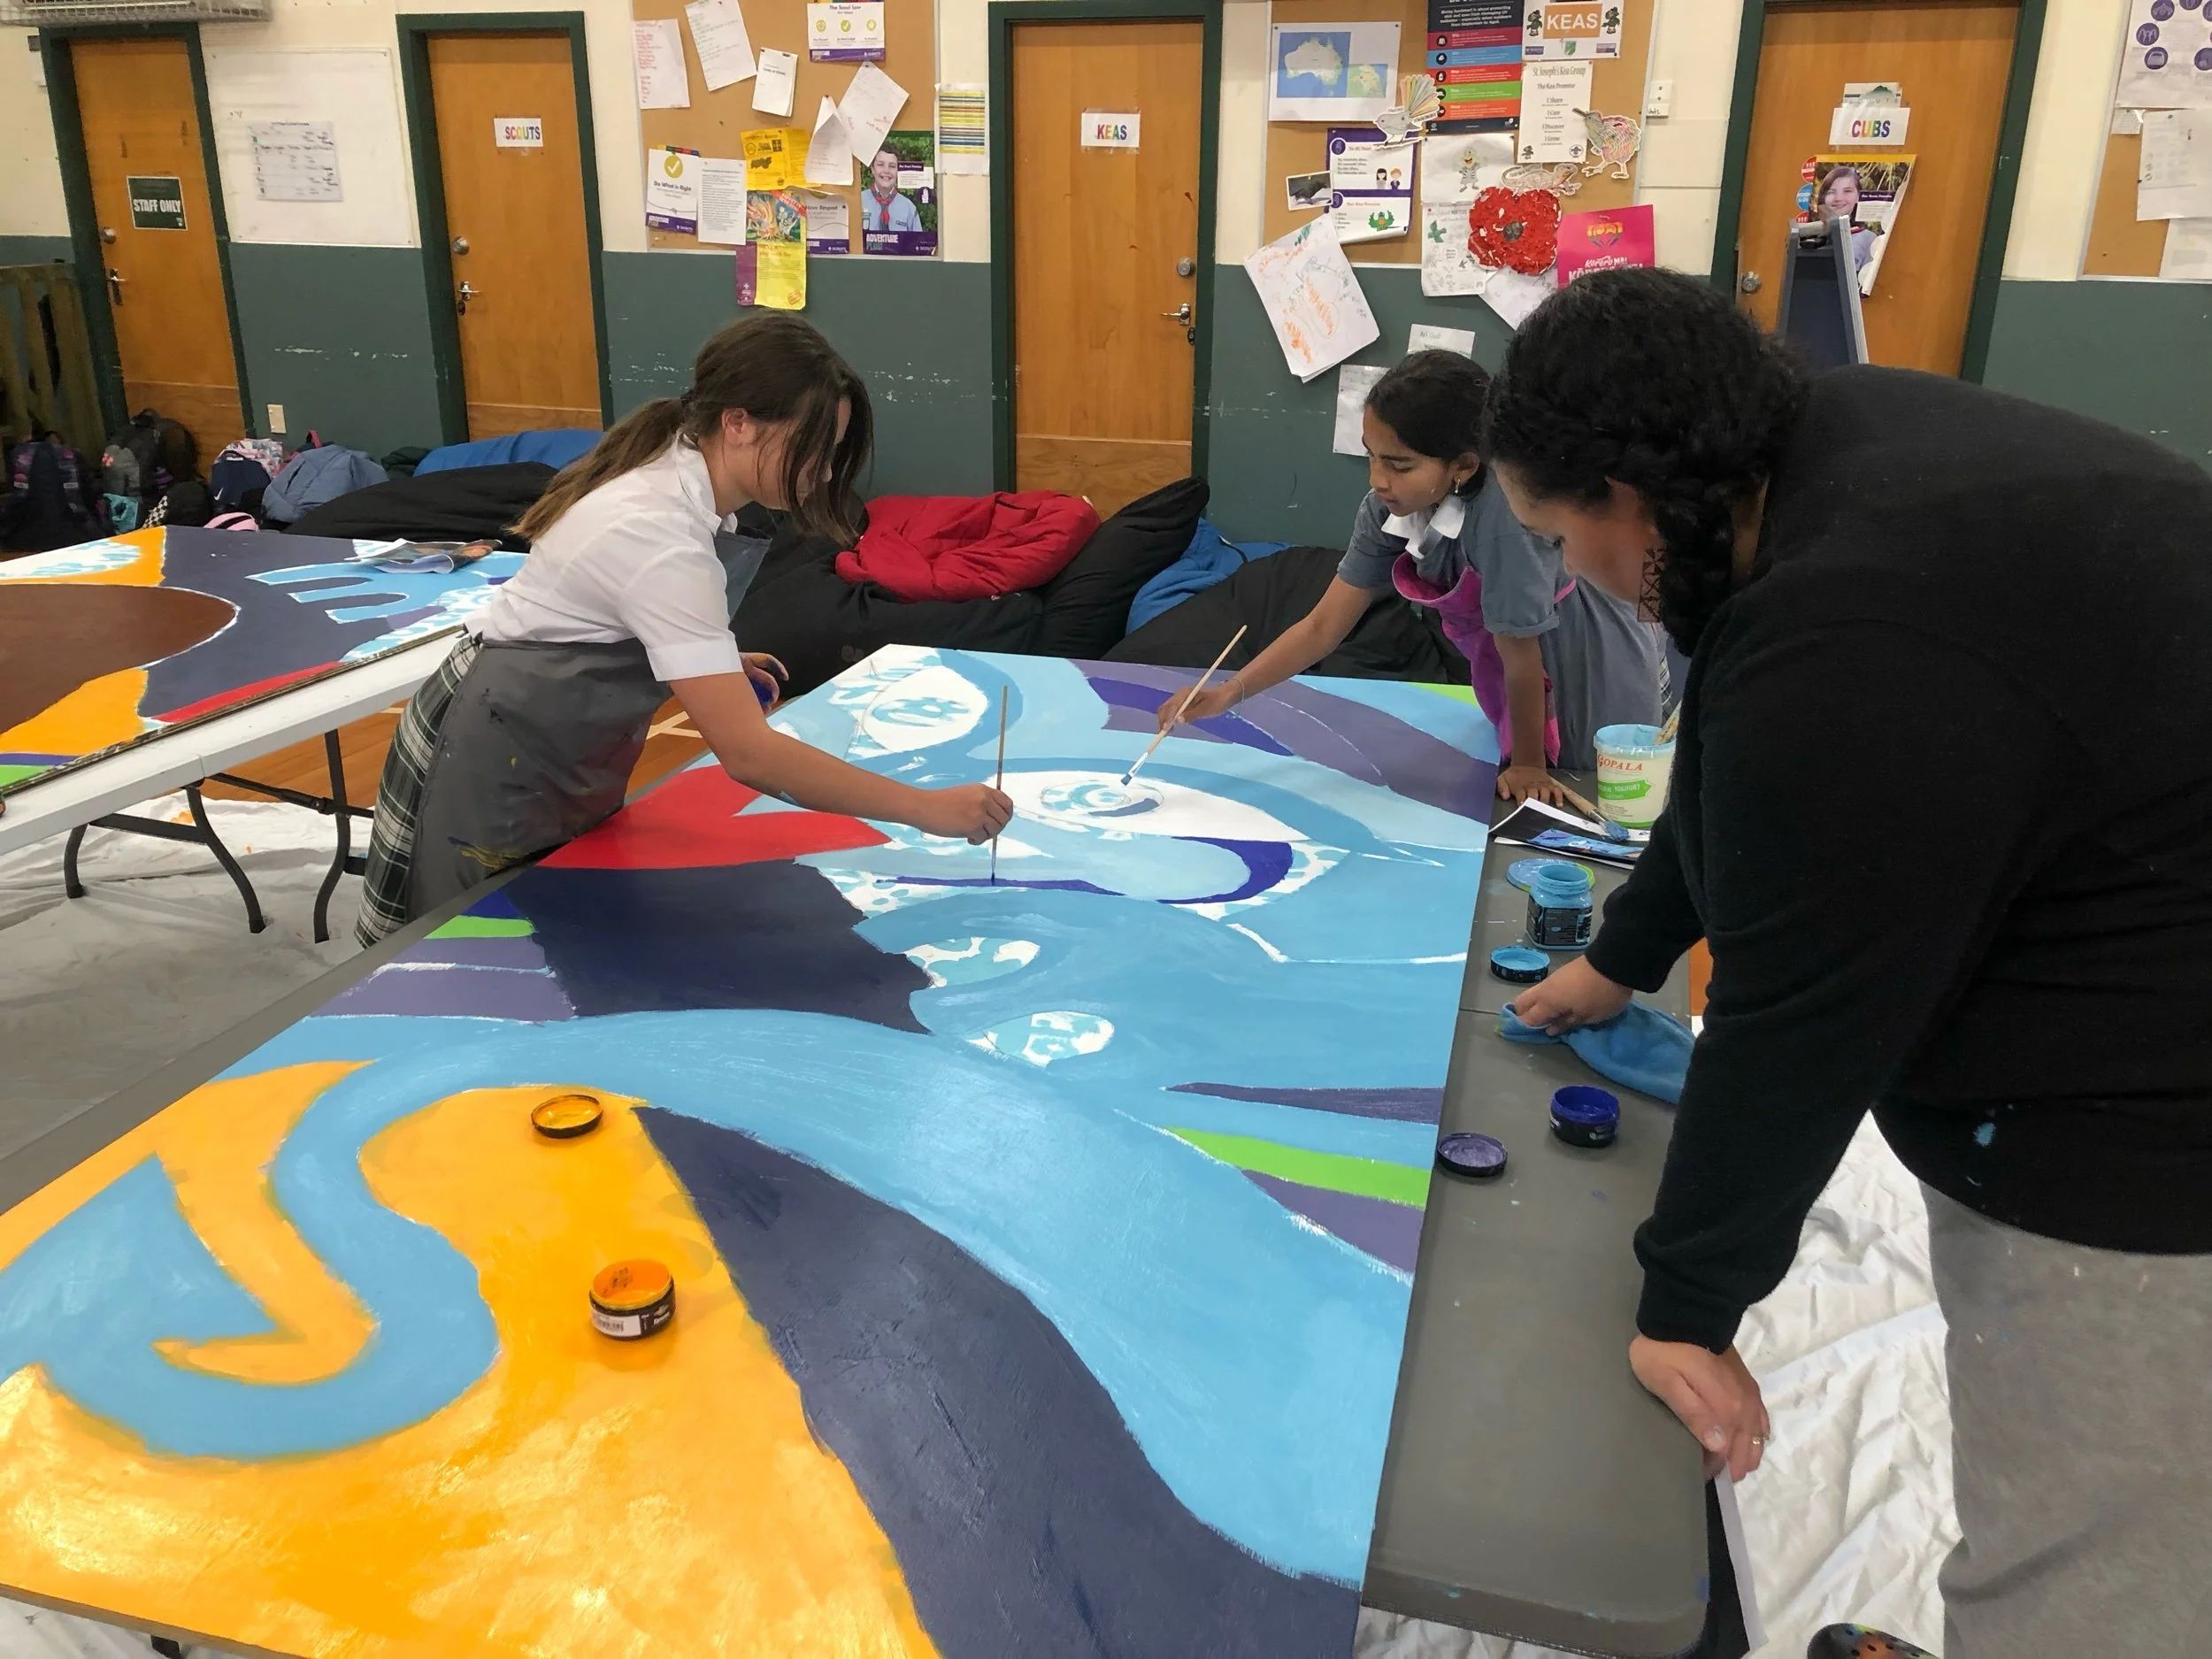
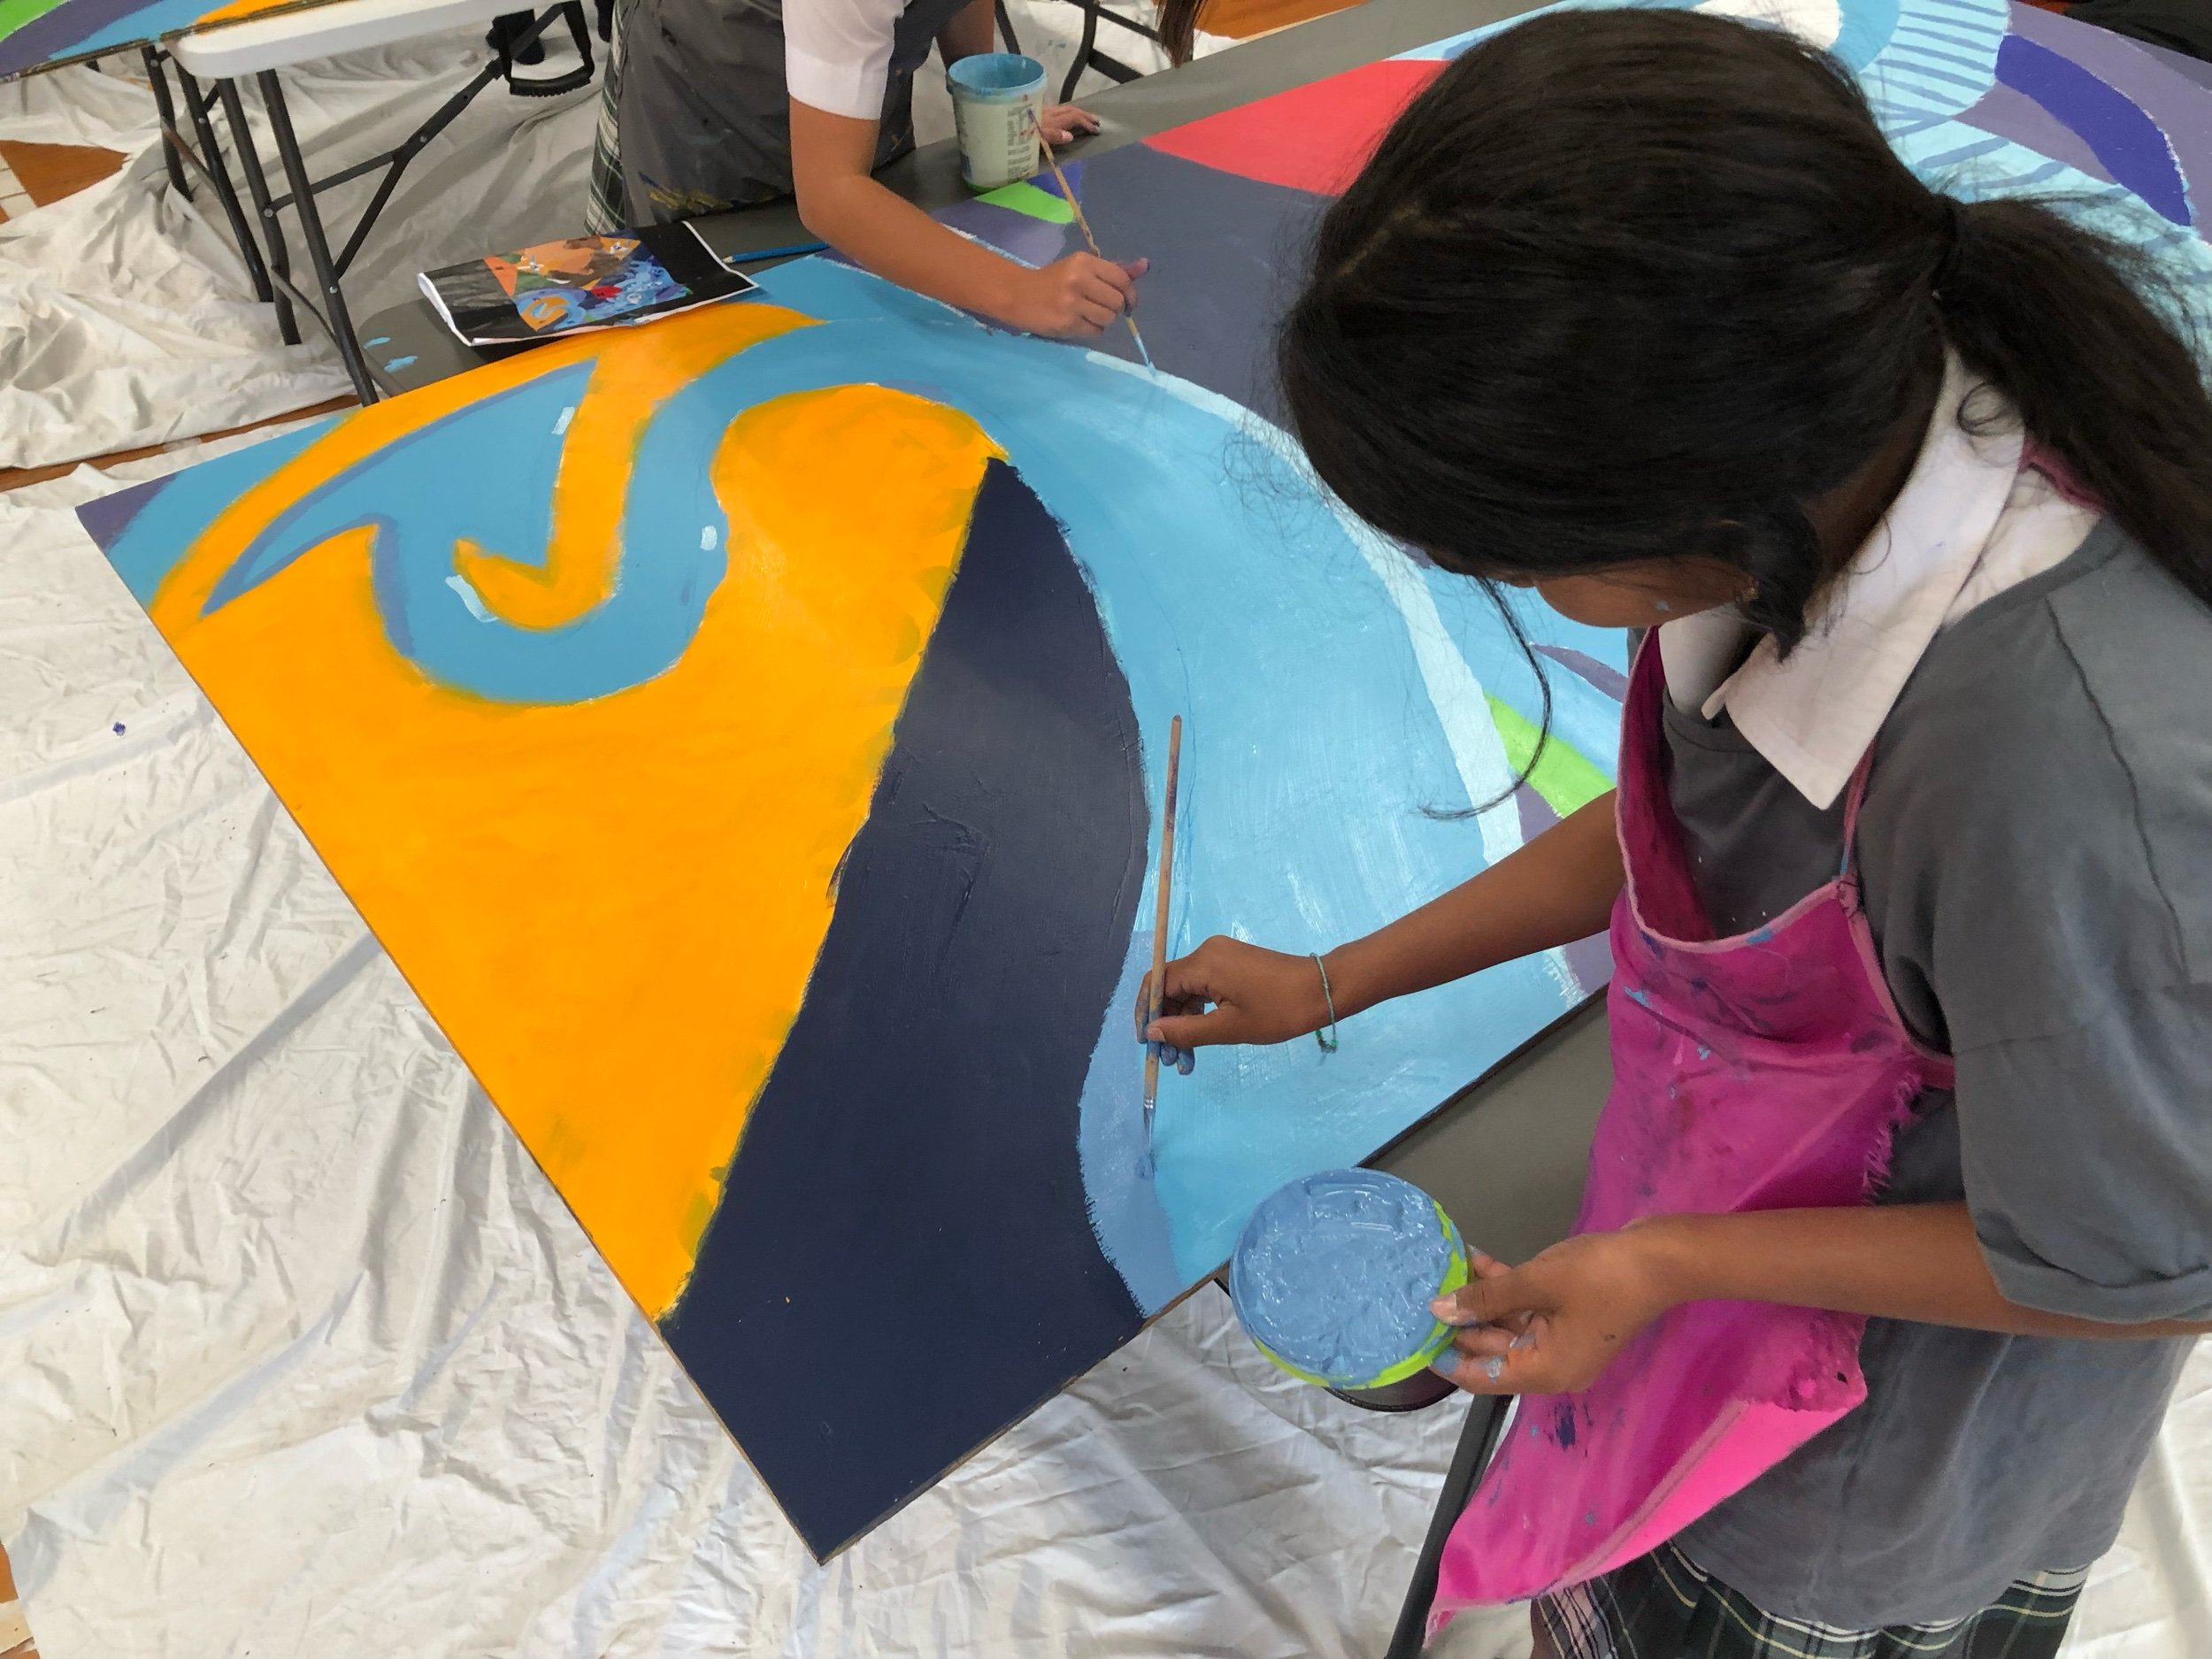
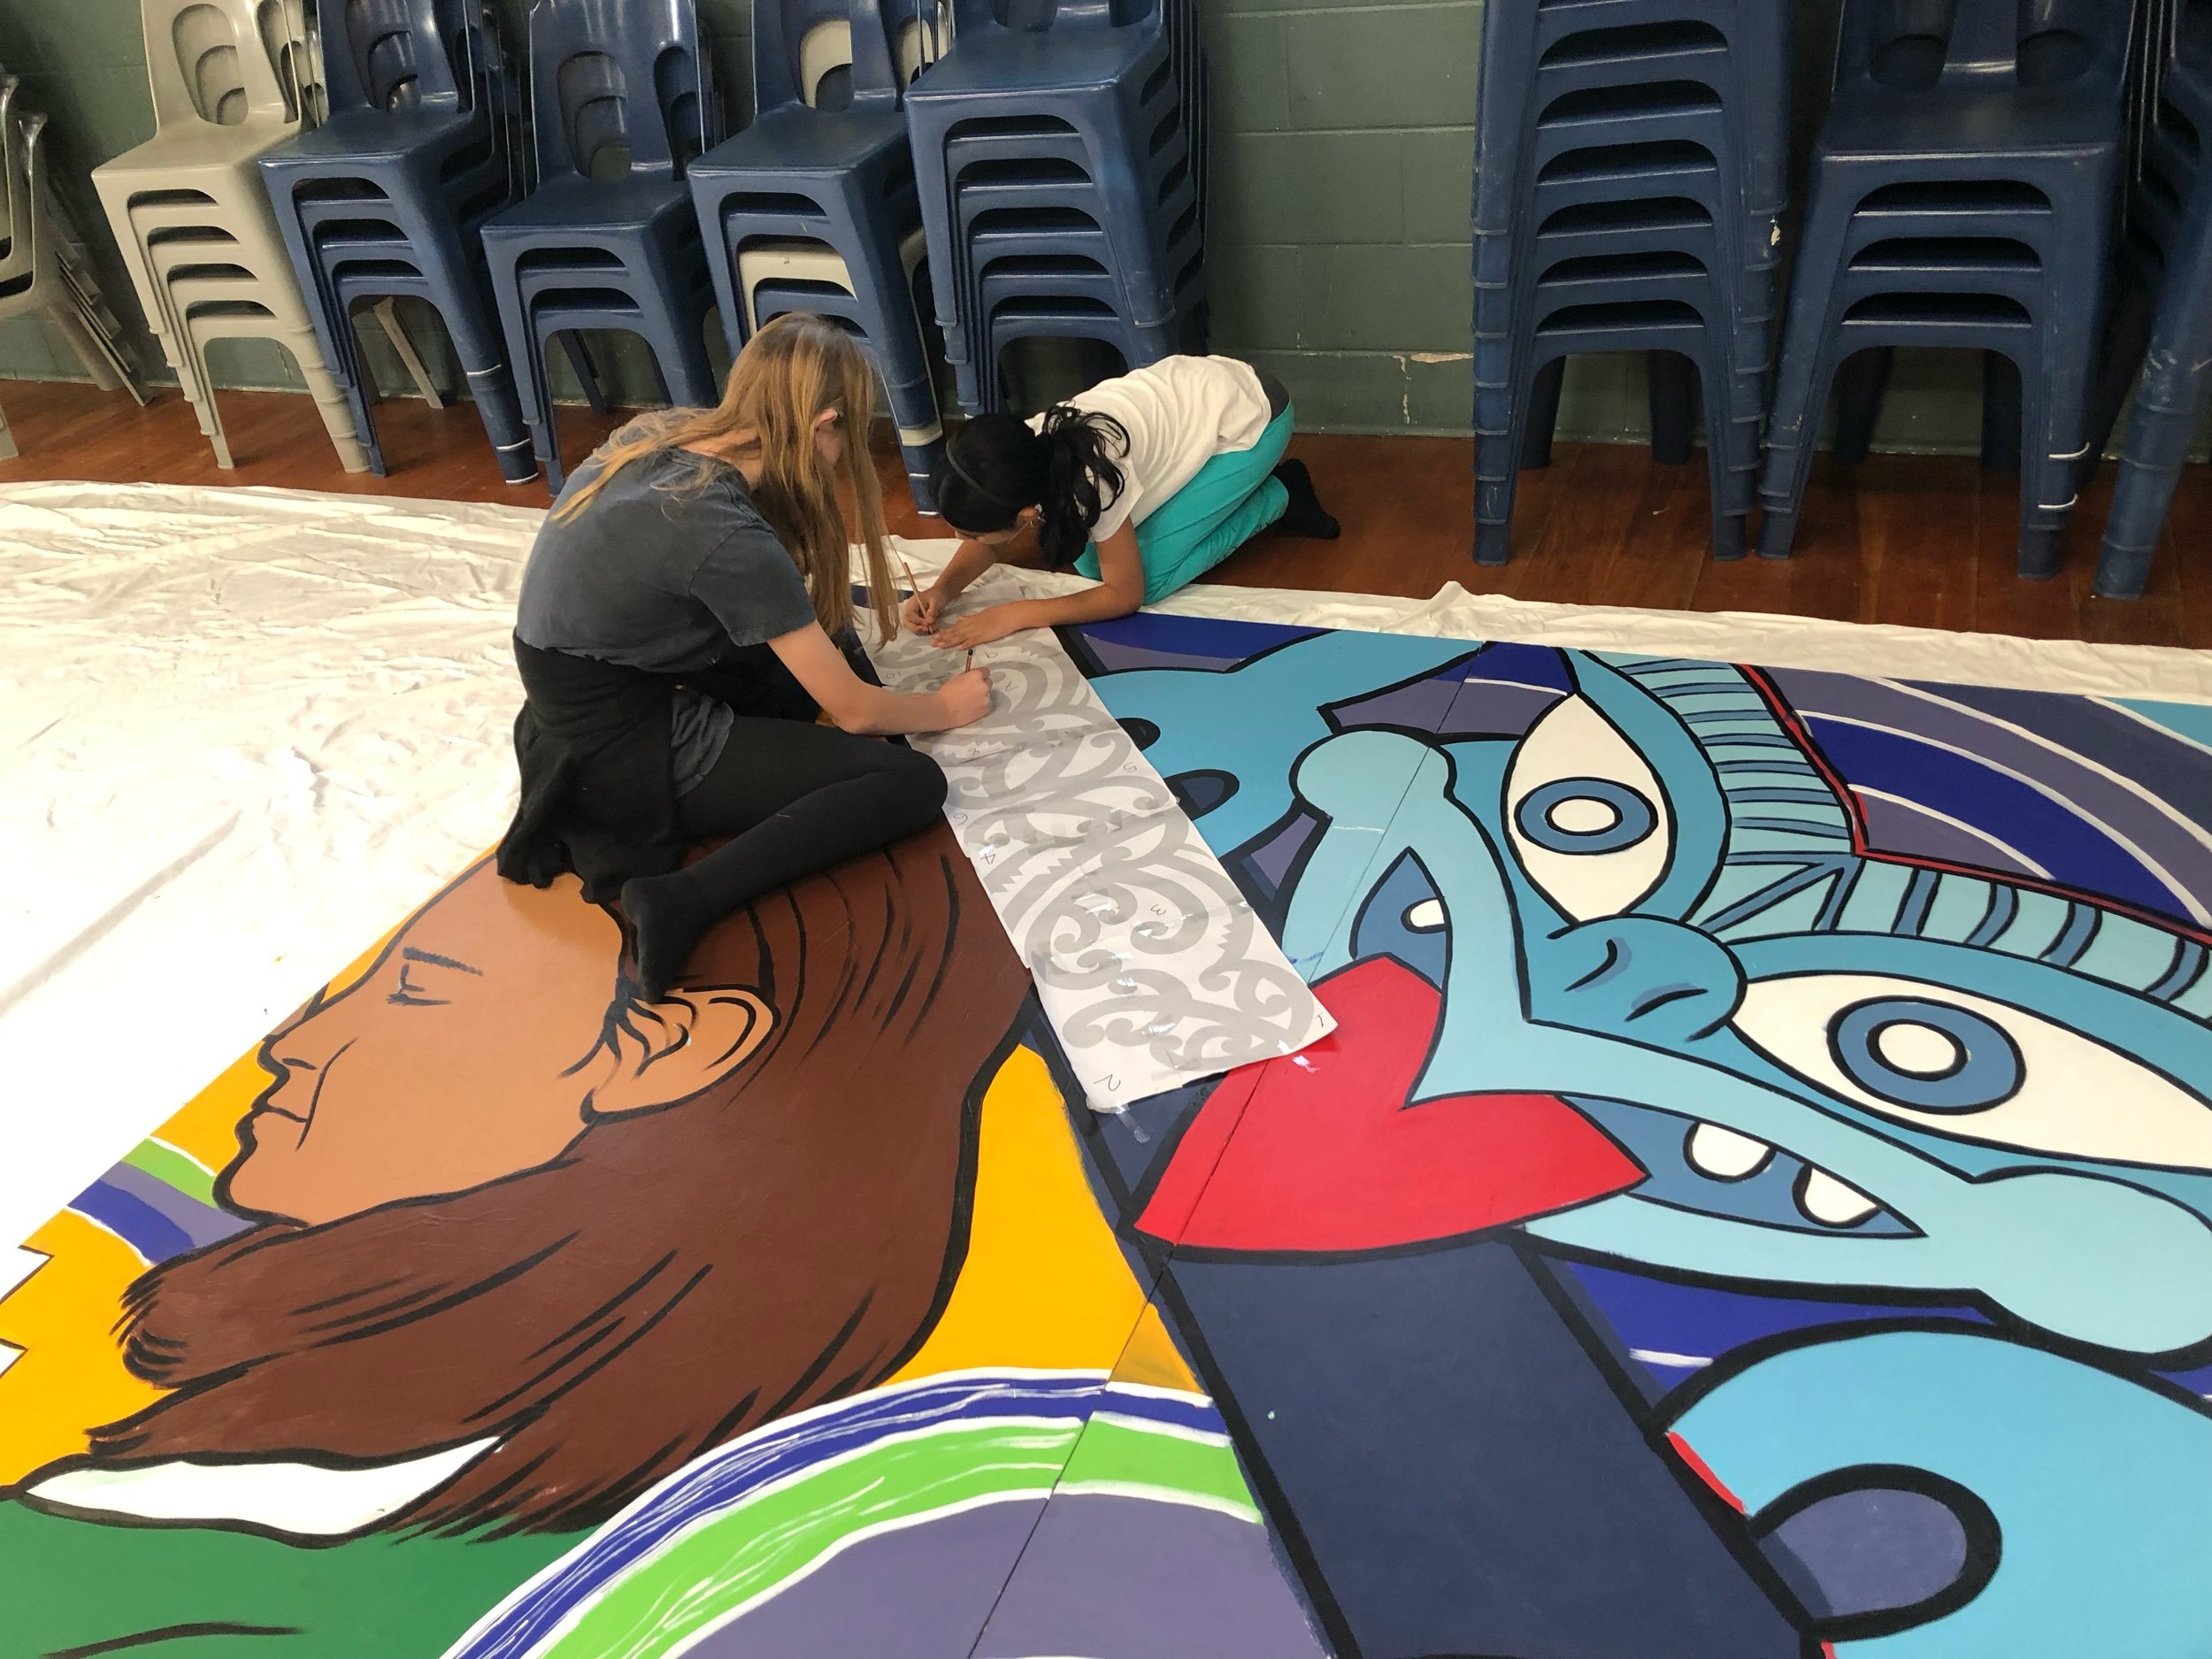
Can the children be involved in the creation?
Absolutely they can! I love working with children on creative projects and this it is vital in getting my work to relate to the correct age group and community. There are a million ways to do this and each project is different. I tend to discuss ideas around this during the project briefing discussions.
